 1500+ reviews

Prevent Brown Patch in Lawn
Identify and Prevent Brown Patch on Your New Caney Lawn During the warm weather months, you like your lawn looking green, lush, and healthy. And inviting, to better enjoy grilling, pool parties, and Fourth of July celebrations. But the Texas heat can introduce unsavory fungal diseases into your New Caney lawn, including Brown patch. When you wake up first thing in the morning, and hear the hum of air conditioners in the neighborhood because it’s already hot and humid, that is ideal Brown patch weather. If you’ve ever seen those indicative brown splotches or surefire signs of other lawn diseases on your lawn, read on for tips to control Brown patch and get your yard back. Must Read:HOW TO GET RID OF ODOROUS HOUSE ANTS IN YOUR CONROE YARD AND HOME What Is Brown Patch? Brown patch invades rapidly. You might come home for dinner, and walk through your familiar lush lawn. The next morning you may wake up to brown patchy areas around your yard, signs of Brown patch taking hold. Brown patch is a summer fungal disease, that can overwinter in your Texas lawn’s thatch. It activates during dew periods longer than 10 hours, and when overnight temps get above 65⁰ Fahrenheit. These are perfect conditions for fungi like Brown patch to develop. Those big brown patches in your lawn are signs the disease is spreading. The grass becomes brittle, brown, and unhealthy. Cooler-season grasses like Tall Fescue, Bentgrass, Perennial Ryegrass, and Kentucky bluegrass typically start showing symptoms of Brown patch during the late spring. Warmer season species (e.g., St. Augustine grass, Centipede grass, Bermuda grass, and Zoysia grass) will usually manifest symptoms twice during the season: once in the early spring, and again in the late fall. Brown Patch Prevention 101 It goes without saying that regular, consistent, basic lawn care practices are the best way to help keep your lawn healthy. Try the following: Mow your lawn regularly. Mow to the appropriate height for your type of grass species. Cutting your lawn too short can help the fungus spread faster. Remove lawn clippings after mowing. Especially in warm to hot weather, you don’t want to help spread the fungus around your lawn. Test your yard’s soil. Make adjustments as necessary. Any pH reading less than 6.0 is going to make fungal diseases worse. Irrigate your lawn only when necessary. Only irrigate with about one inch of water weekly, as more moisture helps the fungus spread faster. Ensure proper drainage for your lawn. Make sure your lawn is draining properly (surface and subsurface areas), and aerate to help correct for soil compacting. Don’t use too much nitrogen fertilizer! Keeping nitrogen levels optimal and avoiding fast-release forms of nitrogen fertilizer can help keep fungi from spreading to cause Brown patch and other turfgrass diseases. You’re proud of your lawn. But wouldn’t you rather be spending more of your free time with friends and family? All the best preventive measures can help keep your lawn healthy, but sometimes you need to call in the professionals with the right tools and expertise. Call our New Caney, TX pest control experts today at 832-898-0190 or email us at info@fullscopepestcontrol.com, and we can help you manage your lawn, keep it healthy, while saving all sorts of money, stress, and time. With the time you save, you can spend more quality time grilling with your family and friends!
How to Get Rid of Odorous House Ants in Your Conroe Yard and Home
Odorous House ants are commonly found throughout kitchens and homes all over the United States. Most often after heavy rains, these ants are known to enter homes as they try to escape being flooded out of their shallow nests. Odorous house ants are very tiny, but also very quick, and they frequently travel in lines, unless they are disturbed. When their straight lines are disturbed or startled, they will take off running around randomly, releasing an odor that will remind you of rotten coconuts, or even a rotten pine scent. They also emit this unpleasant odor when squished, hence getting them their common name. Generally speaking, ants are among the most hearty, resilient, and adaptable insects around, and most species can be difficult to get rid of once they’re indoors. It’s a good idea to know what type of ants you’re dealing with to help you in managing them. Odorous House Ants (Tapinoma sessile) Odorous House ants can nest just about anywhere, including underneath stones, yard debris, mulch, and logs, as well as in the abandoned nests of birds or mamals. In your home, they will likely take up residence in wall voids, window frames, and even in insulation. Unlike other ants, these ants are very mobile, relocating their nests every three to four weeks. Considering a nest can have multiple colonies housing several thousand ants at a given time, this is a big deal. Odorous House ants are only about 1/8″ of an inch in length, and dark brown to black in color. These ants particularly love sweets, including pastries and fruit juices of all sorts, but they can also consume a wide range of foods including greasy foods and meats. How Do You Get Rid of Odorous House Ants? As with trying to prevent other ant and insect invader pest species, keeping your lawn well mowed and the interior of your home wiped down and clean is a major key to keeping Ghost ants out. No matter how clean your home is, keep in mind that ants can show up in even the cleanest of homes. Try the following tips to help you get rid of Odorous House ants in your home. Promptly wipe up food and beverage spills, keep your sink free of empty dishes, and sweep and mop regularly in your kitchen. Make sure all leaks indoors and outdoors are repaired. Seal up cracks and crevices in the baseboards, doors, and windows. Screen off pipe and utility entry points. Keep firewood and mulch at least 20 feet away from your home, and clear your yard of debris. Trim your shrubs and trees at least an inch or two away from the side of your home. Mow your lawn regularly and keep it clear of lawn clutter (logs, branches, stumps, leaf piles, etc.). Must Read:GET RID OF FIRE ANTS ON YOUR KINGWOOD PROPERTY As with other ant species, baiting is the most consistently reliable and long-term way to eliminate entire colonies instead of spraying with a conventional repellent residual spray. But you can spot treat for ants with a good spray, just don’t spray where you’ve put down bait, or the ants won’t come anywhere near the bait like you want them to. You can also spray your yard with a good yard bug spray. Be patient! Depending on the colony size, it could take from a few days to a few weeks to eliminate it entirely. Odorous House ants are part of living in Texas, and even with all the best preventive measures, you may still find yourself dealing with an infestation from time to time. Is that how you want to spend all your summer and fall months? Call our Conroe, TX pest control experts today at 832-898-0190 and we can help you save all sorts of money, stress, and time. Keep your weekends free for time grilling with family and friends in your backyard!
Get Rid of Fire Ants on Your Kingwood Property
Fire ants (or Red Imported Fire ants (RIFA), as they’re commonly known in the United States) are not known to bother people much, and they are not considered invasive. They pretty much keep to themselves in colonies outdoors, including on your Kingwood property. Doesn’t sound too bad, right? Fire ants are not only nuisances, they are aggressive pests that will attack you and your family, and repeatedly sting if you disturb them. They are known for their large colony hills and for their painful sting, and are most prominent in the Southern, Southwestern, and Western United States, If you get bit enough times by enough of these ants, you will probably need to seek medical attention quickly. Ants are among the most hearty, resilient, and adaptable insects around, and most species can be difficult to get rid of, so it’s a good idea to know what type of ants you’re dealing with to help you in managing them. Must Read:DEALING WITH BLACK WIDOW SPIDERS
How do You Get Rid of Cornfield Ants in Your New Caney Home and Yard?
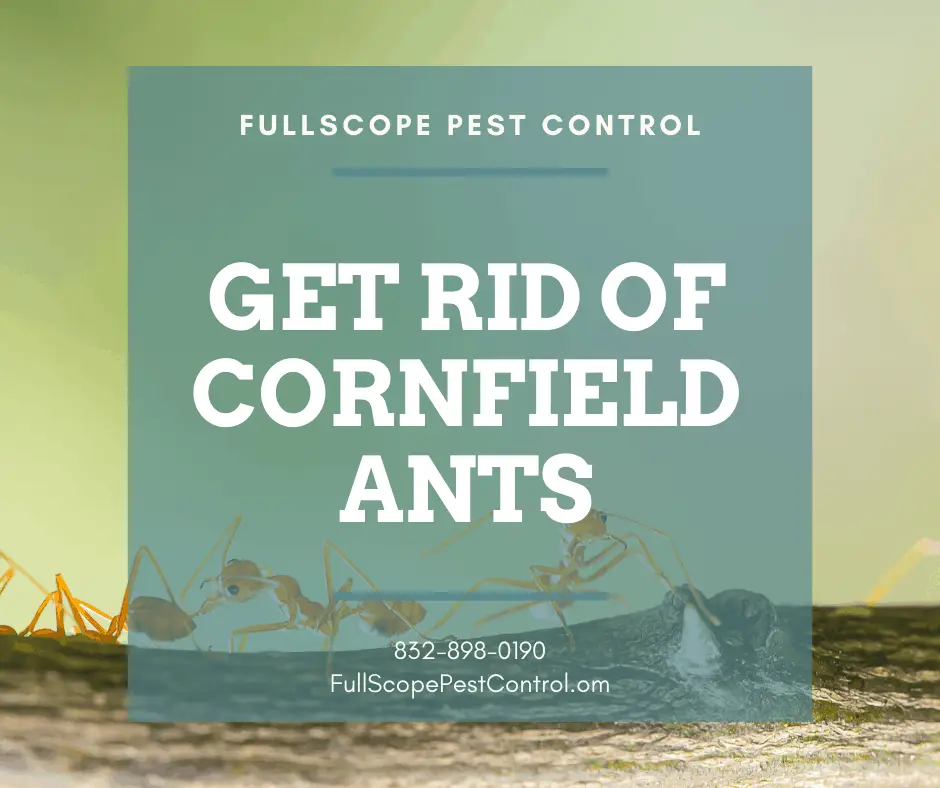
Cornfield ants are a common ant species that are known to build their homes in grassy fields. Cornfield ants can also make themselves cozy in your New Caney lawn. These ants are similar to a species known as Field ants, and they are known for feeding on nectar, other insects (alive or dead), and honeydew produced by aphids. Ants are among the most hearty, resilient, and adaptable insects around, and most species can be difficult to get rid of once they’re indoors, so it’s a good idea to know what type of ants you’re dealing with to help you in managing them. Cornfield Ants (Lasius americanus) Cornfield ants aren’t known to often nest in homes (they prefer outdoors), but they will enter your house while foraging for sugary foods and water. Like other ant species, once inside, they can contaminate your stored food and track bacteria all over surfaces where they travel. If you are seeing Cornfield ant activity indoors, there’s a good chance you have leaks and/or issues with wet wood indoors that need to be addressed. One reason Cornfield ants are significant is that they are frequently mistaken for Carpenter ants. They are light to dark brown in color, and measure between 1/10″ to 1/5″ in length, though queens can measure up to 1/3″. These ants aren’t as aggressive as Fire ants, but they will bite/sting if their nest is threatened. They also emit an acidic odor when squished. Outdoors you can find Cornfield ants nesting in the soil underneath sidewalks, bricks, landscaping stones, etc., as well as in and around rotting stumps, limbs, and logs. How Do You Get Rid of Cornfield Ants? As with many other ant and insect invader pest species, keeping your lawn well kept and the interior of your home clean is a major key to keeping Cornfield ants out. No matter how clean your home is, keep in mind that ants can show up in even the cleanest of homes. Try the following tips to help you get rid of Cornfield ants in your home. Mow your lawn regularly. There’s nothing Cornfield ants hate more than a well-trimmed lawn. Trim your shrubs and trees at least an inch or two away from the side of your home. Keep firewood and mulch at least 20 feet away from your home, and clear your yard of debris. It is critical to ensure that all of your food products (including pet food) is well-sealed and stored. If they have difficulty finding food in your house, Cornfield ants will go elsewhere. Promptly wipe up food and beverage spills, keep your sink free of empty dishes, and sweep and mop regularly in your kitchen. Make sure all leaks indoors and outdoors are repaired. If you find ants entering your home through a crack in the baseboards, doors, or windows, seal it up with caulk or spackling. Screen off pipe and utility entry points. Do everything you can to keep Cornfield ants out. You can spot treat for ants indoors with a good home bug spray, and you can also treat around the outside of your home regularly with a yard bug spray. Spraying nests you find directly with pesticide is also effective. Must Read:HOW TO GET RID OF PAVEMENT ANTS IN YOUR CLEVELAND YARD AND HOME There’s a lot you can do yourself to prevent and get rid of Cornfield ants and other pests from your home and yard, but wouldn’t you rather be enjoying your downtime with family and friends? Despite your best efforts to manage them, sometimes Cornfield ants will still invade your home. Save yourself all sorts of stress, money, and time by calling our New Caney, TX pest control experts today. Let us help you get your yard and home ant and pest free so you can enjoy the good weather in your backyard while it lasts!
How to Get Rid of Pavement Ants in Your Cleveland Yard and Home
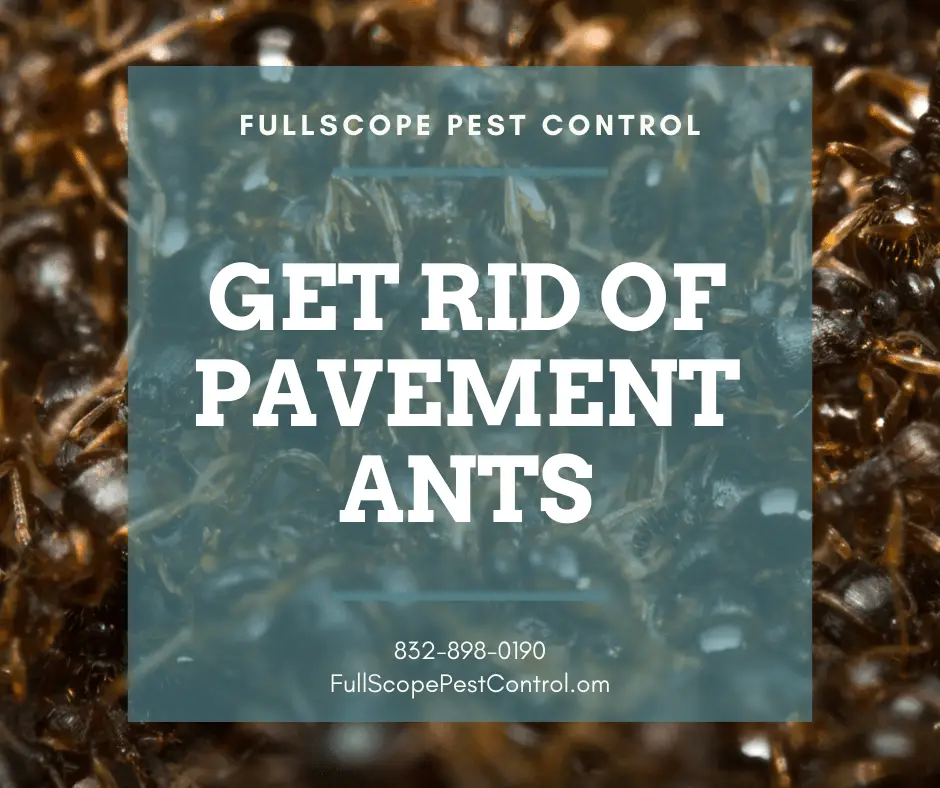
Pavement ants are among the ant species that are considered to be “Sugar ants,” and are originally native to Europe. Today, you can find Pavement ants all over North America, though they aren’t quite as common in the southern United States as they are in other parts of the country. These ants get their common name from the way they prefer to nest underneath paved surfaces. You may also find them making their way into your Cleveland, TX home in search of food and water. They are noted for moving in small motions.
Little Black Ants on Your Porter Property
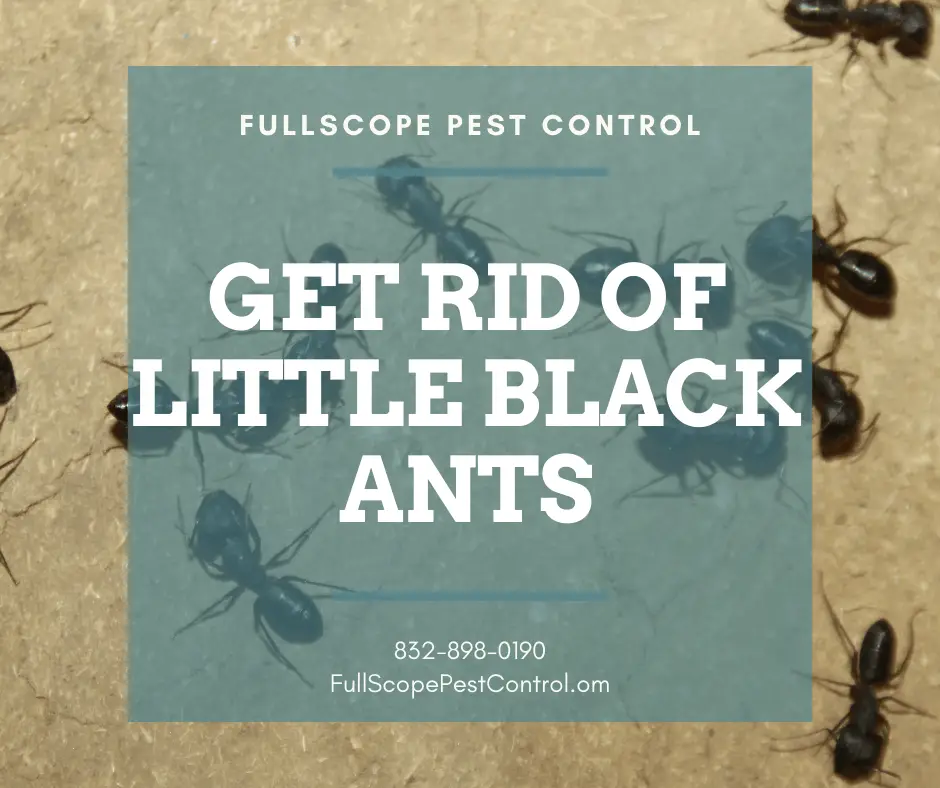
Little Black ants get their common name from their very tiny size and shiny, typically black coloring. Their colonies are medium to very sizeable, usually featuring many queens. Generally speaking, ants are among the most hearty, resilient, and adaptable insects around, and most species can be difficult to get rid of once they’re indoors, so it’s a good idea to know what type of ants you’re dealing with to help you in managing them. Little Black Ants (Monomorium minimum) Little Black ants only range in length from 3/10″ to 3/5″ in length (queens are about twice as large), and shiny black in color. These ants are known to increase activity between June and August, when they typically forage for food, and can be found along your Porter property’s sidewalks and driveway. They love feeding on proteins, oil, meats, as well as on fruits and vegetables. They will even feed on sweets, honeydew/plant secretions, other insects, and on stored food like corn meal. Little black ants are most commonly found in wooded areas. They tend to nest underneath landscaping rocks, decomposing logs in your yard, and underneath firewood, piles of bricks, and lumber. If they find their way into your home in search of food and water, they will occupy woodwork, wall voids, damp/rotting wood, and masonry. Must Read:GET RID OF PHARAOH ANTS IN YOUR KINGWOOD HOME How Do I Get Rid of Tiny Ants in My Kitchen? As with many other ant and insect invader pest species, keeping your lawn well kept and the interior of your home wiped down and clean is a major key to keeping Ghost ants out. No matter how clean your home is, keep in mind that ants can show up in even the cleanest of homes. Try the following tips to help you get rid of Ghost ants in your home. Keep firewood and mulch at least 20 feet away from your home, and clear your yard of debris. Mow your lawn regularly and keep it clear of lawn clutter (logs, branches, stumps, leaf piles, etc.). Trim your shrubs and trees at least an inch or two away from the side of your home. Promptly wipe up food and beverage spills, keep your sink free of empty dishes, and sweep and mop regularly in your kitchen. Make sure all leaks indoors and outdoors are repaired. Seal up cracks and crevices in the baseboards, doors, and windows. Screen off pipe and utility entry points. The location of the Little Black ant nest is important when considering treatment. These ants are difficult to notice with the naked eye, but if you can find a trail of them, you can follow it back to their nest. As with other ant species, baiting is the most consistently reliable and long-term way to eliminate entire colonies instead of spraying with a conventional repellent residual spray. But you can spot treat for ants with a good spray, just don’t spray where you’ve put down bait, or the ants won’t come anywhere near the bait like you want them to. You can also spray your yard with a good yard bug spray. Be patient! Depending on the colony size, it could take from a few days to a few weeks to eliminate it entirely. No matter what you do to help prevent Little Black ants and other pests from establishing a home in your house or yard, there’s still a chance you may end up dealing with a serious infestation at some point. But what about all the good weather? Call our Porter, TX pest control experts today at 832-898-0190 to save yourself all sorts of time, headaches, and money, and to keep your weekends with friends and family free. Let us help you enjoy more of grilling season in your backyard!
Get Rid of Pharaoh Ants in Your Kingwood Home
Pharaoh ants can be seen crawling out of bathtubs, wall switch plates, along kitchen sinks… they seem to come from just about everywhere, and they can make a nuisance of themselves in your Kingwood, TX home. Generally speaking, ants are among the most hearty, resilient, and adaptable insects around, and most species can be difficult to get rid of once they’re indoors. It’s a good idea to know what type of ants you’re dealing with to help you in managing them. Pharaoh Ants (Monomorium pharaonis) Pharaoh ants are considered “tramp ants” and are known to cause problems in homes, hospitals, and other medical facilities. About one in every six ant species are known as tramp ants (usually small species, that build multiple colonies, and can feed on various different food sources), such as Argentine ants , Crazy ants , Odorous House ants , White-footed ants , Big Headed ants , and Rover ants. Fire ants are also considered to be tramp ants, though they don’t usually infest homes and other structures. Pharoah ants are among the smaller ant species, only measuring between 1/16″ AND 1/8″ in length, and they are typically light brown to reddish in color, with dark hind ends. They look similar to Thief ants, but without the two clubs on their antennae. How Do I Get Rid of Pharoah Ants on My Kingwood Property? As with trying to prevent other ant and insect invader pest species, keeping your lawn well mowed and the interior of your home wiped down and clean is a major key to keeping Pharoah ants out. No matter how clean your home is, keep in mind that ants can show up in even the cleanest of homes. Try the following tips to help you get rid of Pharaoh ants in your home. Promptly wipe up food and beverage spills, keep your sink free of empty dishes, and sweep and mop regularly in your kitchen. Make sure all leaks indoors and outdoors are repaired. Seal up cracks and crevices in the baseboards, doors, and windows. Screen off pipe and utility entry points. Keep firewood and mulch at least 20 feet away from your home, and clear your yard of debris. Trim your shrubs and trees at least an inch or two away from the side of your home. Mow your lawn regularly and keep it clear of lawn clutter (logs, branches, stumps, leaf piles, etc.). Must Read:DEAD SPOT ON YOUR KINGWOOD LAWN As with other ant species, baiting is the most consistently reliable and long-term way to eliminate entire colonies instead of spraying with a conventional repellent residual spray. But you can spot treat for ants with a good spray, just don’t spray where you’ve put down bait, or the ants won’t come anywhere near the bait like you want them to. You can also spray your yard with a good yard bug spray. Be patient! Depending on the colony size, it could take from a few days to a few weeks to eliminate it entirely. Insect Growth Regulator ant control products can also be effective. Always follow label directions. Pharaoh ants are likely to make an appearance on your property or even in your home at some point. Even with all your best preventive measures, you may still find yourself dealing with ant infestations (or problems with other pests) from time to time. Do you really want to spend your summer and fall months chasing after ants, or would you rather spend them grilling? Call our Kingwood, TX pest control experts today at 832-898-0190 and we can help you save all sorts of money, stress, and time. Keep your weekends free for grilling.
Dead Spot on Your Kingwood Lawn
Recognize and Control Spring Dead Spot on Your Kingwood Lawn Spring Dead spot is a fungal disease (Ophiosphaerella species) known to primarily affect yards planted with Bermuda grass varieties, including in Kingwood, TX. The fungus in the soil rots your grass’ roots and blades. Like other fungal diseases like Powdery mildew and Downy mildew , and as the disease’s name suggests, it is most prominent in the spring, and it appears as round patches of “bleached,” dead lawn. The patches can range in size from a few inches to several feet across. You’ll start to notice signs of it as it contrasts with the nearby budding, healthy grass begins emerging. From year to year, the patches will likely show up in the same areas of your lawn, as the fungus can overwinter from the previous year, but then after three or four years, they will go away. The fungus also grows in the fall when conditions are cooler and moist. Spring Dead spot is a serious lawn disease, but it is treatable. It is more commonly seen in mature and well-kept lawns, and not so much on younger lawns that aren’t heavily fertilized. Spring Dead Spot in Action Early on as this fungal disease develops, the inner parts of the discolored patches remain alive, but then die off as the problem continues. Re-growth in these dead areas has to occur because of healthy growth from nearby plants. This re-growth can be very slow. The deadened areas frequently see weed growth, often stunted. This is because the fungus leaves toxins in the areas with dead grass which slows down new growth. Get Rid of Spring Dead Spot Spring Dead spot treatment should happen in the fall as well as in the spring, and should include careful control of the amount of nitrogen fertilizer that you apply to your lawn. High levels of nitrogen create ideal conditions for the growth of this particular fungus. Fungicides can also be applied, but must be applied consistently and several times. Systemic lawn treatment fungicides can be applied heavily in the fall, usually only once, to help curb Spring Dead spot for the coming spring. Keep in mind that Bermuda grass varieties with higher tolerances for cooler temperatures are less prone to this particular fungal disease. Must Read:4 QUICK TIPS TO KEEP FLIES OUT OF YOUR CONROE HOME THIS FALL You are proud of your lawn, but do you find yourself spending too much time taking care of it, time you could be spending with family and friends? Keep taking care of your lawn (no overwatering, regular mowing, proper drainage, controlling fertilization properly), but if you’re spending too MUCH time on your lawn, consider calling in the professionals. Call our Kingwood, TX pest and lawn control experts today at 832-898-0190 or email us at info@fullscopepestcontrol.com. We can help you manage your bug and yard problems while keeping your lawn healthy and green. Save yourself all sorts of money, stress, and time, and enjoy gardening and then your time with family and friends.
4 Quick Tips to Keep Flies Out of Your Conroe Home This Fall
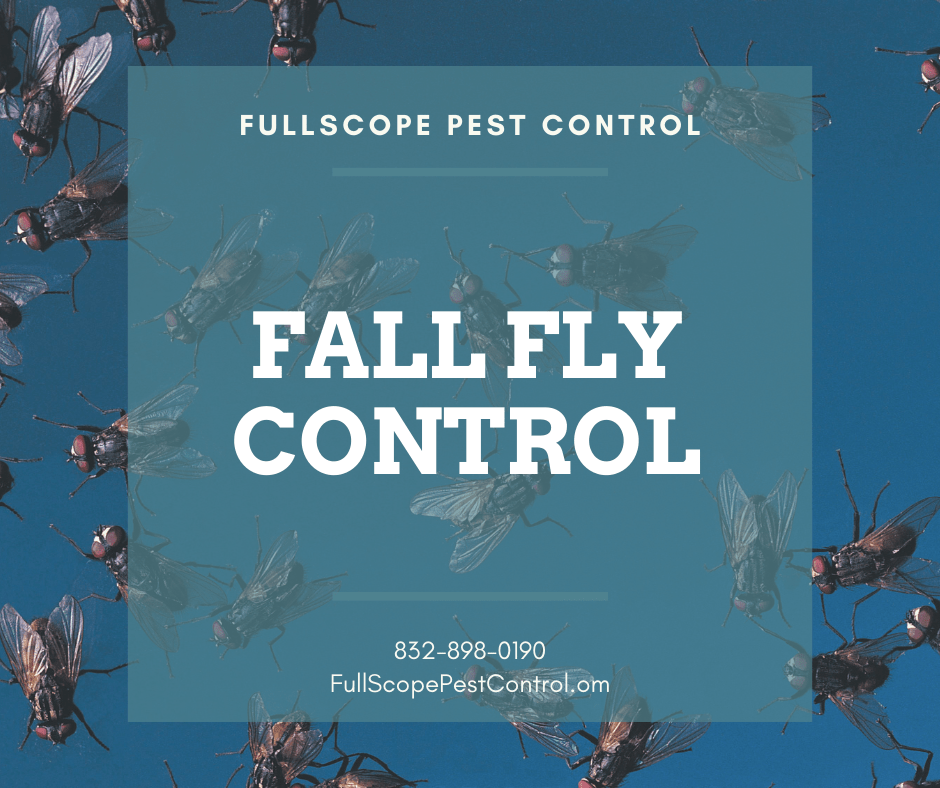
As fall sets in, you look forward to enjoying all the delicious, warm smells and time with your family, inside from the cold weather. Flies and other pests are also scoping out your home to get in from out of the cold. There is plenty you can do to eliminate the conditions that attract flies into your Conroe home.
Effective Spider Control for Your Cleveland, Texas House
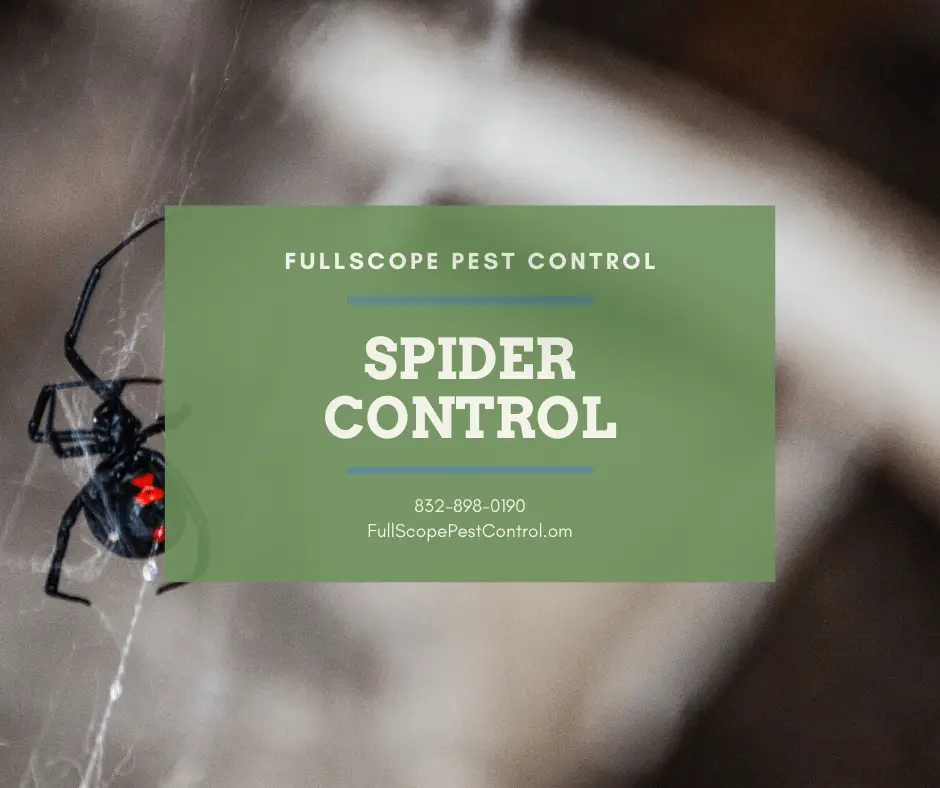
Are you finding more spiders than normal in and around you home? This really could be a pest problem, no really. Because most spiders are consuming other insects the solutions is sometime easier than you think. Getting a handle on all the other bugs will help reduce your spider population. Good perimeter pest control, with a high quality residual product.