1500+ reviews

You notice it first in the hallway, then near the ceiling vent. It's a sickly, sweet odor with a sulfurous edge, and no amount of air freshener makes it disappear. By the afternoon, the smell seems stronger when the air conditioner runs. You check the trash, the refrigerator, and the drains, but the source still isn't obvious.
A dead animal smell in house situations usually becomes a building-science problem as much as a wildlife problem. The carcass may be in an attic, wall cavity, crawlspace, or duct branch, while decomposition fluids have already reached insulation, wood, drywall, or duct liner. Removing the animal matters, but finding the contaminated materials and treating them matters just as much.
The odor usually builds rather than appearing instantly. One wildlife-removal source describes it beginning within the first 1 to 3 days, becoming strongest around days 4 to 10, and then fading over weeks as the carcass dries out. A small animal such as a mouse may fully decompose in about 1 to 2 weeks, while rats and squirrels can take longer, with odor lasting from a few days to several weeks. See the wildlife-removal timeline for a dead animal in a wall or attic for the field context behind those ranges.
This guide focuses on the decisions that prevent wasted effort: distinguishing decomposition from look-alike odors, tracing the source without randomly cutting drywall, removing contaminated material safely, and knowing when professional inspection makes more sense. The same approach applies to homes around Magnolia, Texas, where enclosed spaces, active HVAC systems, and humid conditions can make odor behave differently from one room to the next.
Introduction to Dead Animal Odor at Home
A homeowner often calls after trying the obvious fixes. They've opened windows, placed bowls of vinegar around the room, sprayed deodorizer into a vent, and waited for the smell to pass. Instead, the odor returns whenever the temperature rises or the HVAC system moves air through the house.
That pattern is important. Air freshener changes perception, not the source, and even a strong disinfectant can fail if the carcass remains hidden or decomposition fluid has soaked into porous material. A smell that grows stronger in one room, travels through a vent, or changes with airflow deserves a source investigation before deodorizing begins.
What the timeline can tell you
A dead animal odor often follows a recognizable arc. It may start as a faint organic or sour smell, intensify during active decomposition, and then decline as the body dries. The exact experience depends on the animal's size, the temperature, moisture, and whether the carcass is exposed or enclosed.
The source linked above describes odor beginning during the first 1 to 3 days and reaching its strongest point around days 4 to 10. It also notes that a mouse may decompose in about 1 to 2 weeks, while a rat or squirrel may take longer. Those figures aren't a promise that your house will be odor-free on a particular day. They're a reason to avoid assuming that a smell appearing yesterday came from an animal that died yesterday.
An attic carcass may dry differently from one in a sealed wall bay. A carcass beside an air handler may spread odor through several rooms, while one inside insulation may create a powerful but highly localized smell.
Practical rule: If the odor keeps returning after the HVAC cycles or after the room warms, assume something remains contaminated until you've inspected the source zone.
Don't overlook similar odors
Decomposition is a strong possibility, but smell alone doesn't prove it. A dry drain trap, moisture damage, mold, gas issue, or electrical problem can produce an unpleasant odor that homeowners may describe as rotten, sulfurous, or stale.
A dead animal becomes more likely when you also find flies, insect activity, disturbed insulation, nesting material, staining, droppings, or a concentrated odor near a vent or wall opening. A gas or electrical concern requires a different response. If the smell resembles fuel or burning insulation, leave the area and contact the appropriate utility or emergency service rather than investigating an attic or wall cavity yourself.
The safest starting point is controlled localization. Identify where the odor is strongest, determine whether airflow changes it, and inspect accessible spaces before opening finished surfaces. In Magnolia and nearby north Houston communities, that method usually saves more time than treating the entire house at once.
What Causes the Smell and Why It Lingers
Decomposition creates a mixture of volatile compounds rather than one single odor. Two important compounds are cadaverine and putrescine, biogenic amines formed as tissue breaks down. Sulfur-containing compounds also influence odor perception, which helps explain why a small hidden animal can produce an intense smell with a rotten or sulfurous character.
The chemistry is only part of the answer. The building around the carcass controls where those compounds travel, how quickly moisture leaves, and how much odor becomes trapped. A carcass in an open attic, a closed wall cavity, and a duct chase may be the same animal, but the odor pattern won't be the same.
Enclosure changes the odor path
In an open attic, air can move around the carcass and carry odor toward penetrations, vents, and ceiling fixtures. Insulation can hold decomposition fluids, but the surrounding air may still dilute the odor across a broad area. A homeowner may notice a general attic smell rather than one precise point.
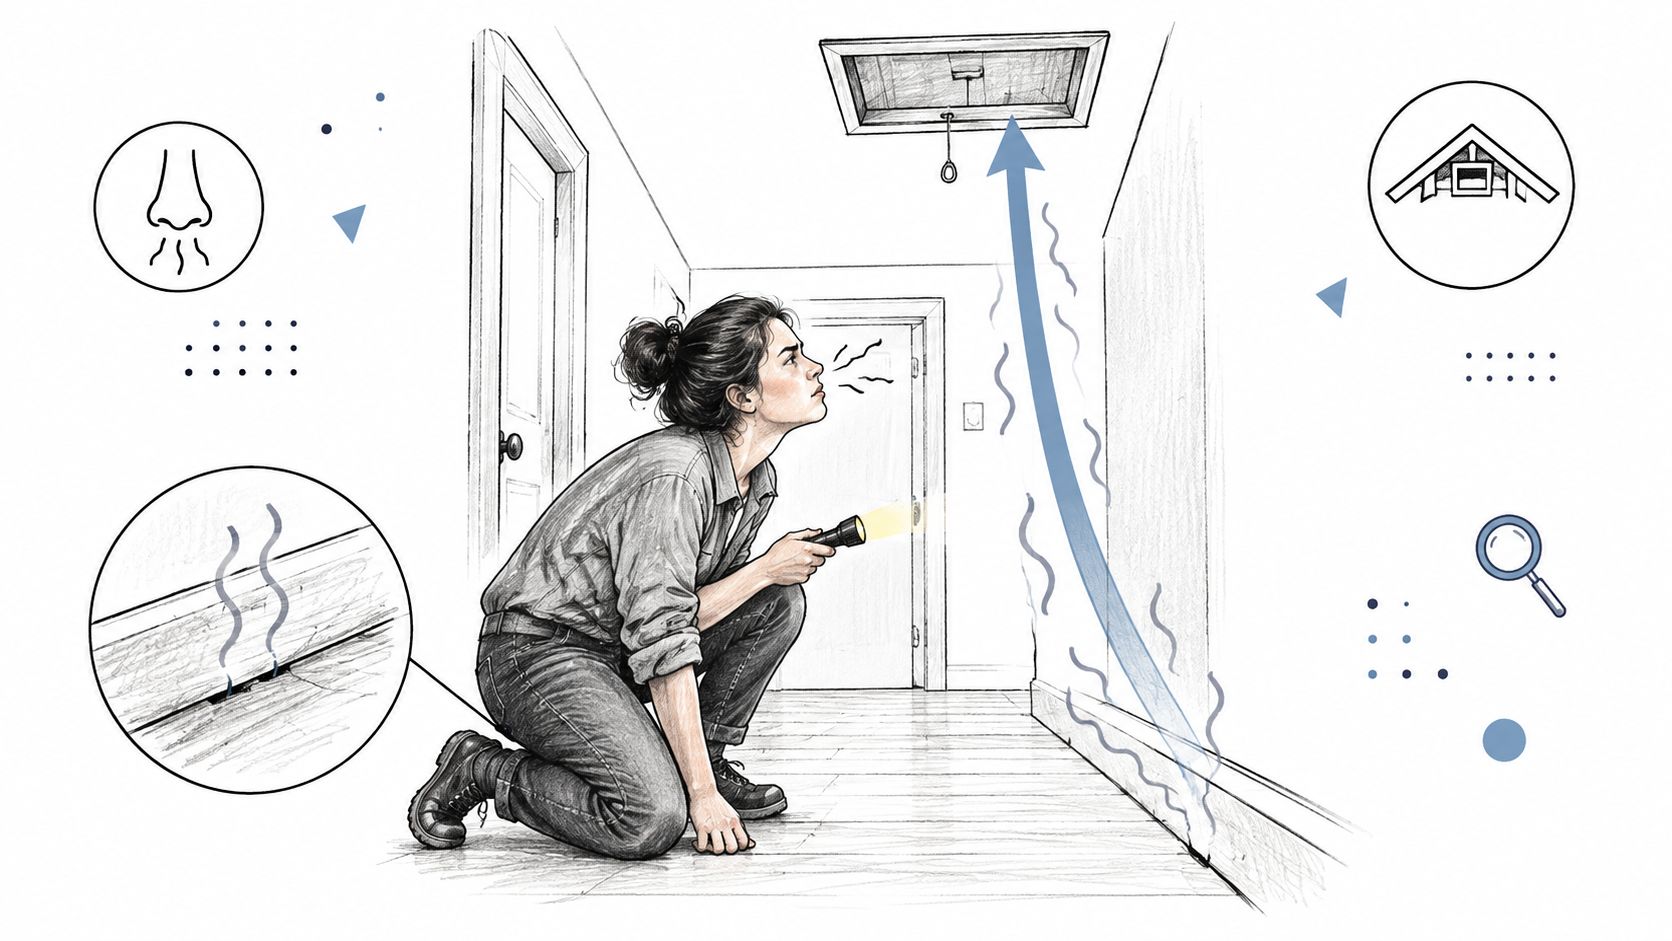
A wall cavity behaves differently. The stud bay can hold moisture and volatile compounds, then release them through outlets, switch boxes, baseboard gaps, ceiling penetrations, or cracks around trim. The strongest smell may appear several feet away from the carcass because pressure and airflow determine the exit point.
Ductwork adds another complication. A carcass in or beside a supply or return path can make the odor appear in multiple rooms, especially when the blower runs. The register isn't necessarily the location of the animal. It may be the place where contaminated air enters the living space.
Why humidity and temperature matter
Temperature and humidity affect both decomposition and drying. Warm conditions can increase odor intensity during active breakdown, while humidity can slow the drying process inside enclosed materials. In a humid Southeast Texas home, a wall void, attic insulation pocket, crawlspace, or duct chase may retain moisture longer than an exposed surface.
One environmental source reports that odor can last 3 weeks to a month or even longer, while the full disappearance process may take 6 to 10 weeks or more under some conditions. Those ranges come from a technical discussion of cadaverine and putrescine and should be treated as environmental possibilities, not a fixed schedule. The technical guide to decomposition odor compounds and environmental persistence explains why temperature and humidity can stretch the cleanup period.
The odor's intensity tells you where contaminated air is escaping, not always where the carcass is located.
Porous materials create the longest after-effect. Insulation, drywall paper, duct liner, unfinished wood, and subfloor materials can absorb decomposition fluid and retain odor compounds after the body has been removed. Spraying the room may make the air seem better briefly, but warming materials or restarting the HVAC system can release the smell again.
Forensic literature reinforces this distinction. Research comparing indoor, forest, and meadow environments found different volatile organic compound profiles, while another study identified sulfurous compounds, including dimethyl di- and trisulfide, as major contributors to odor perception. The forensic research on environment-dependent decomposition odor supports a practical conclusion: search strategy should account for enclosure, humidity, and airflow, not just your nose.
How to Locate the Source Without Tearing Apart Your House
Start with the room where the smell is strongest, but don't stop there. Close interior doors briefly, then compare the odor near floor level, ceiling level, supply registers, return grilles, electrical openings, attic hatches, and plumbing penetrations. You're looking for a pattern that shows whether the smell is concentrated, rising, or being carried by air movement.
Turn the HVAC system off and note the change. After the odor baseline is clear, run the system through a normal cycle and compare the same locations. If the smell spreads or becomes noticeably stronger at registers, inspect the air handler and the connected duct branch before opening walls.
Follow intensity and airflow together
A practical search sequence looks like this:
- Map the strongest zone: Move room to room and mark where the odor peaks. Don't rely on the first place you notice it.
- Check the highest-intensity register: Remove an accessible vent cover, use a flashlight, and inspect the first visible section for staining, debris, insects, or nesting material.
- Inspect the air handler: Look around the cabinet, return path, filter area, and nearby insulation. Keep power off before opening equipment panels.
- Trace the duct branch: If one register is much stronger than others, follow that branch toward the attic, crawlspace, or wall chase.
- Search the attic or crawlspace: Look for disturbed insulation, dark staining, flies, beetles, feathers, nesting, or entry gaps near soffits and utility penetrations.
- Compare adjacent surfaces: A wall may smell strongest at an outlet or baseboard because air is escaping there, even when the carcass is higher or lower in the stud bay.
A flashlight is more useful than repeated spraying. A borescope can inspect a limited cavity through an existing opening, but it won't replace a plan for determining where the cavity connects. Thermal imaging may sometimes show a temperature difference, although it doesn't identify the cause by itself.
Know when a wall opening is justified
Random holes create repair work without necessarily improving access. Before cutting drywall, check whether the same wall bay can be reached from an attic, crawlspace, closet, cabinet, or removable vent opening. Also inspect the opposite side of the wall. Access from an unfinished area is often cleaner than opening a finished living-room wall.
Fresh rodent signs can strengthen the diagnosis. Gnaw marks, rub marks, droppings, and nesting near roof vents or utility penetrations suggest an entry route, but they don't prove that the carcass is in the nearest cavity. For related entry patterns, review this guide to rats in walls.
Don't deodorize the whole house until you've localized the strongest pathway. Whole-house treatment can hide the clue you need to find the source.
If the odor appears in several rooms, changes sharply with HVAC operation, or remains equally strong after accessible spaces are clean, stop opening surfaces. A professional can inspect the duct path, wall voids, attic insulation, and likely entry points in a deliberate order. The goal is a small, targeted access point if access is needed, not demolition by guesswork.
Safe Removal and Disposal You Can Do Yourself
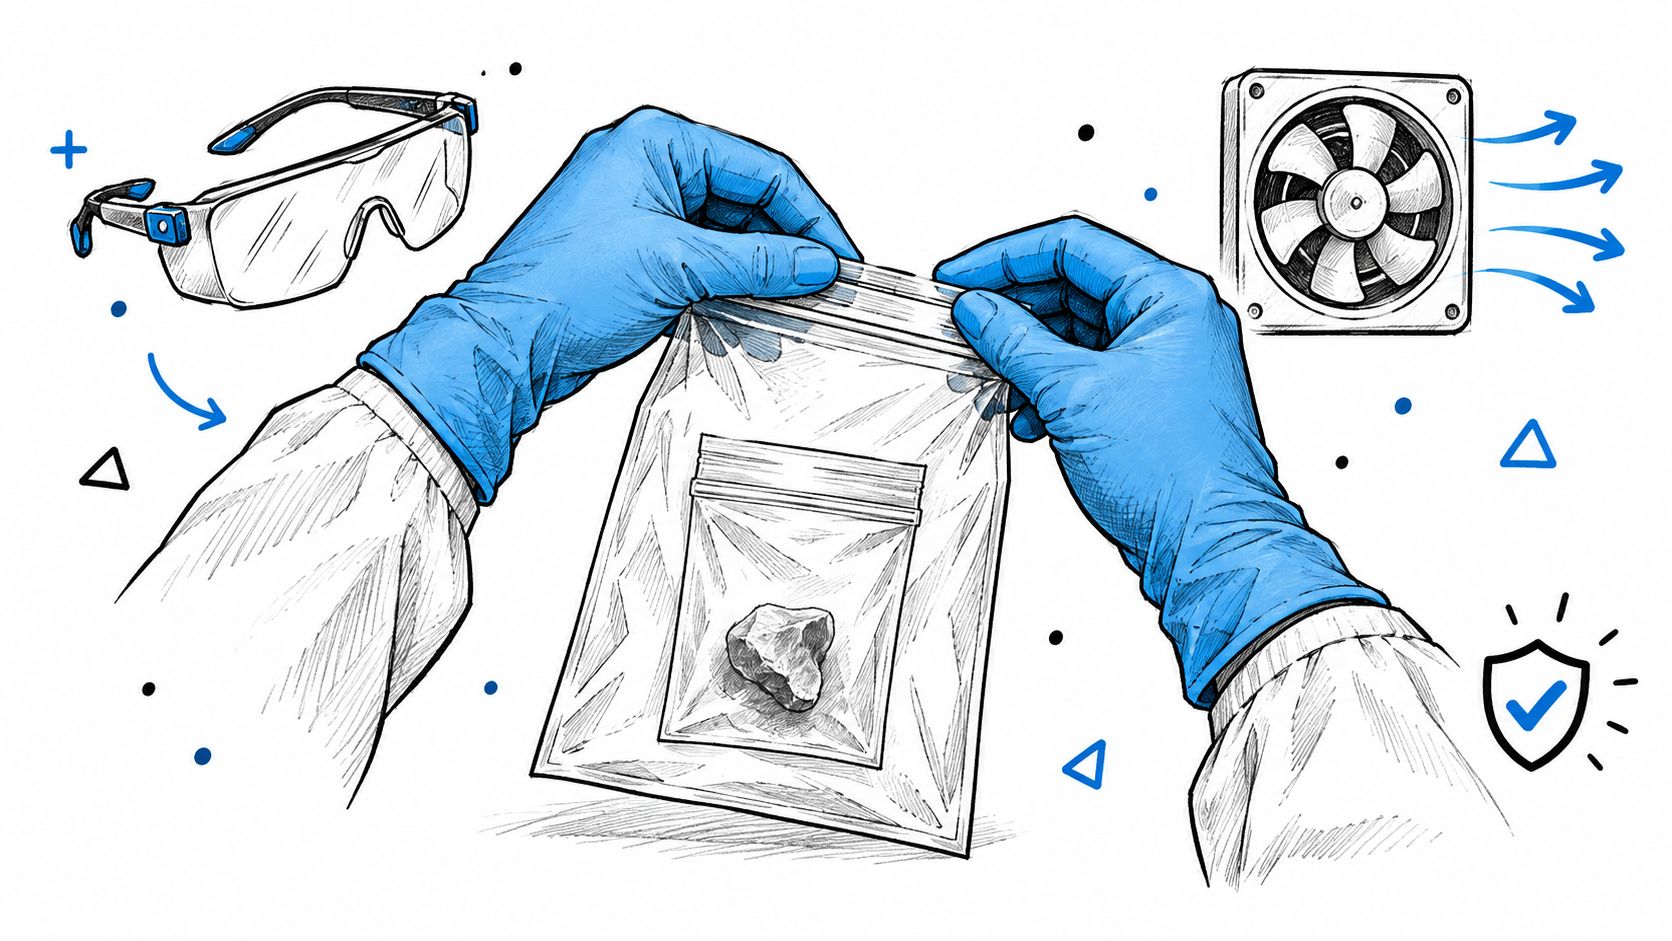
An accessible carcass in an attic or utility area can sometimes be removed by a homeowner, but treat the job as contaminated cleanup rather than ordinary trash handling. Wear disposable gloves, protective clothing, eye protection, and a properly fitted respirator appropriate for dusty or contaminated conditions. Keep children, pets, and anyone medically vulnerable away from the area.
Ventilate the space when possible, but don't use a fan in a way that blows contaminated dust or loose insulation through the house. Turn off the HVAC system before working near a register, return, air handler, or duct opening. If the carcass is inside a duct, don't restart the system to see whether the odor is gone.
Remove the source without spreading residue
Lightly wet the carcass and nearby debris with a suitable disinfectant according to the product label. Avoid aggressive handling, shaking, sweeping, or vacuuming material that may contain biological residue. Pick up the animal and contaminated nesting material carefully, then place everything into a heavy plastic bag.
Use sealed double-bag removal. Close the inner bag, place it inside a second bag, seal that bag, and follow local disposal requirements. Don't leave the package in an accessible outdoor area where pets or wildlife can reach it, and don't assume household trash rules are identical across municipalities.
Treat the contact zone, not just the air
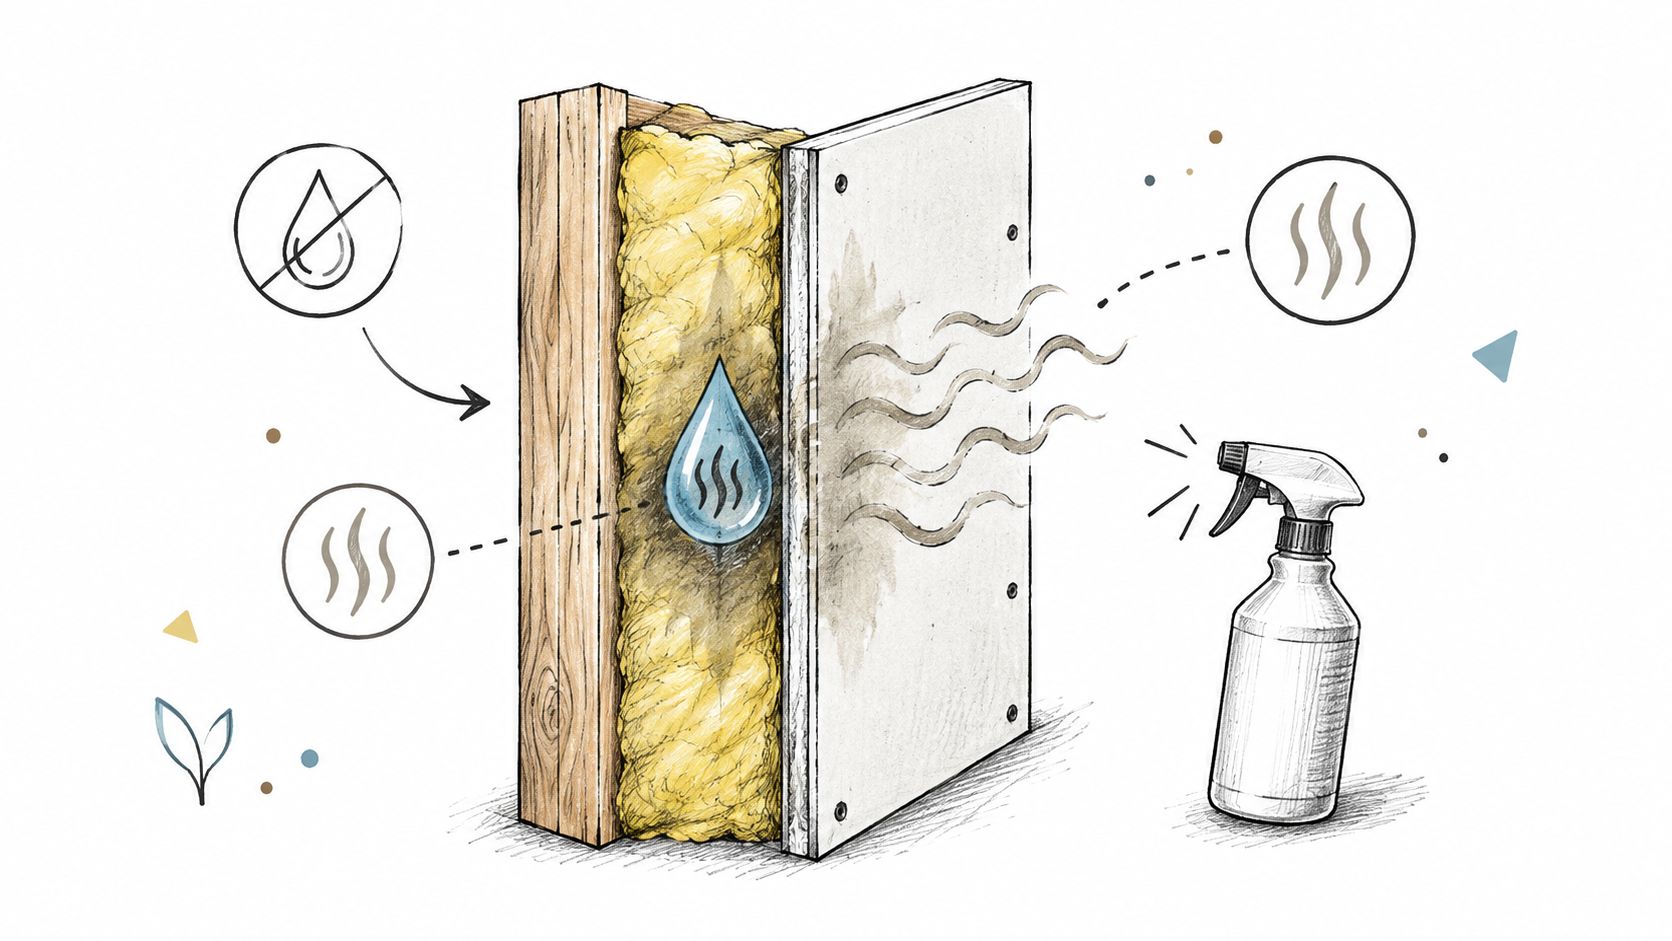
After removal, inspect the surrounding insulation, wood, drywall, and duct liner for staining or dampness. Loose insulation that has absorbed decomposition fluid may need to be bagged and removed rather than sprayed in place. Small pieces of contaminated drywall or other porous material can also require controlled removal, with the exposed surface cleaned and disinfected afterward.
A deodorizer applied before source removal often fails. Heat, humidity, and HVAC operation can release trapped compounds again, making the house smell as though the animal returned. Physical removal comes first, followed by surface cleaning, ventilation, and assessment of materials that absorbed fluid.
A carcass inside a sealed wall or ceiling should be a stop point for most homeowners. Reaching it may require opening the cavity, protecting the room from dust, and deciding whether nearby insulation or framing also needs treatment. Cutting blindly can damage wiring, plumbing, or structural components.
Stop immediately in these situations
- The source is inside ductwork: Air movement can distribute contamination, and the duct material may require specialized cleaning or replacement.
- You find extensive staining: Saturated insulation, drywall, or wood may hold odor after surface spraying.
- You see live pests or heavy insect activity: The carcass may be part of a larger entry and nesting problem.
- You suspect gas, electrical damage, or mold: Those hazards require a different inspection path.
- You can't maintain containment: Leave the area rather than carrying contaminated debris through the home.
For homeowners investigating a broader rodent issue, information about a rat nest in the house can help explain why removal alone may not prevent another incident. The access route and nesting conditions still need attention.
Odor Remediation and Sanitation That Actually Works
Finding the carcass ends the active source, but it may not end the smell. Decomposition fluids can saturate insulation, drywall, wood, subfloor materials, and duct liner. Those materials act as reservoirs, releasing odor when the house warms or when the HVAC system changes pressure.
The most reliable remediation is layered. Start with the contaminated zone, remove material that can't be cleaned, clean residue from salvageable surfaces, and move fresh air through the cavity or duct path. A room deodorizer by itself is the weakest part of that sequence because it treats the symptom while leaving the reservoir in place.
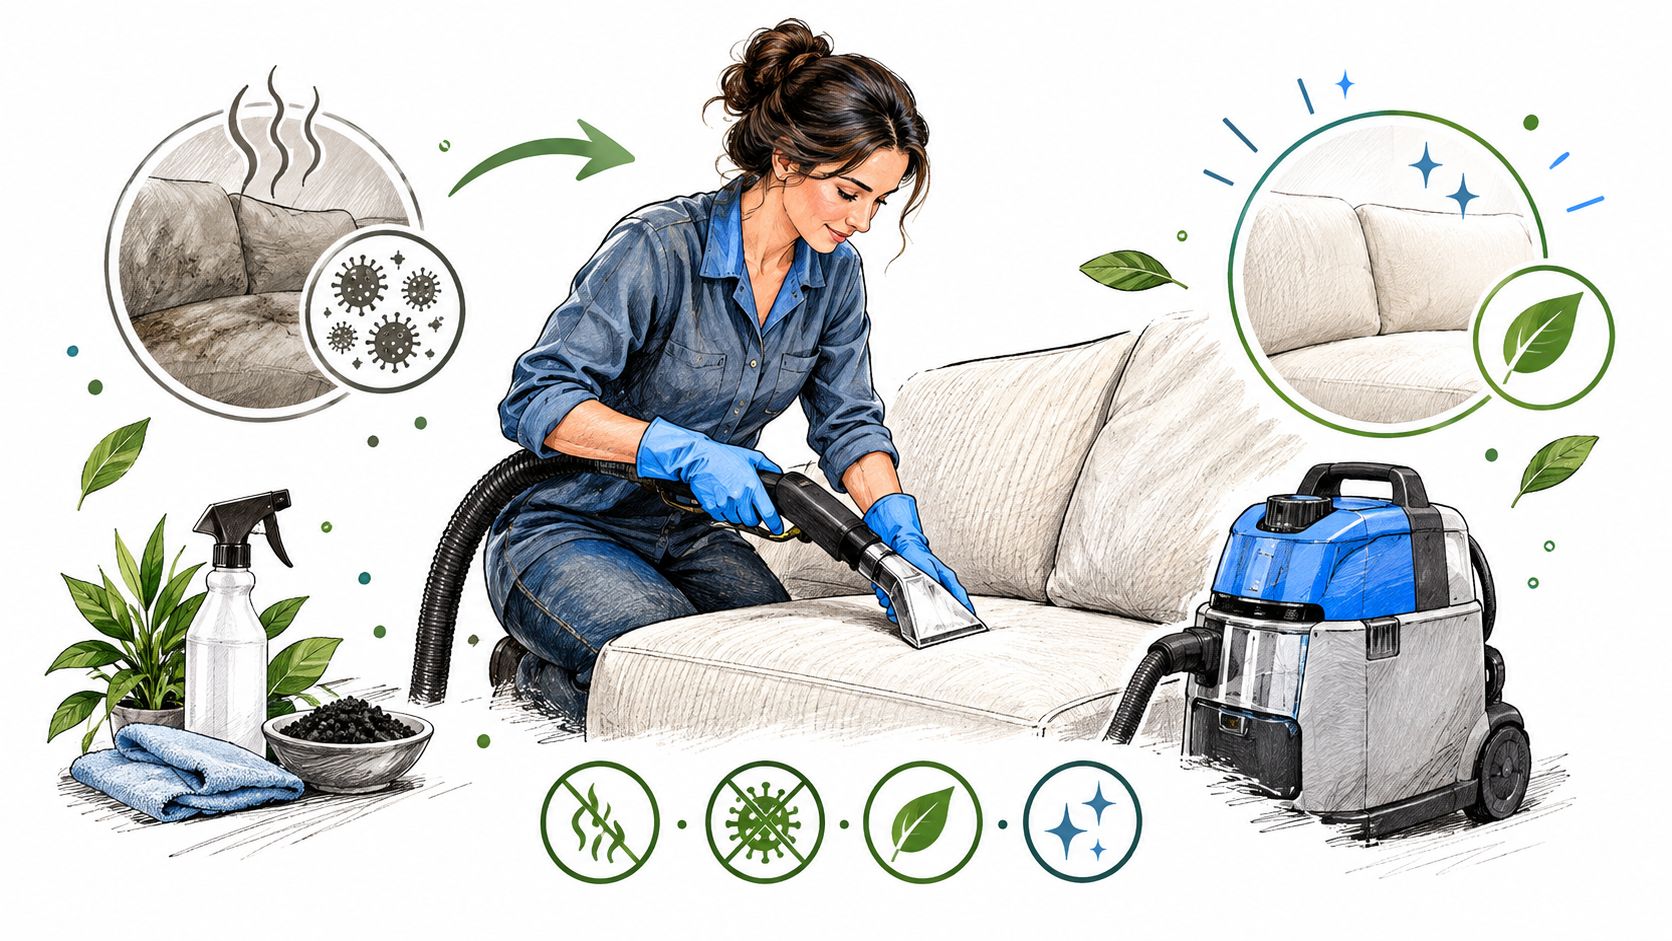
Match the treatment to the material
Hard, nonporous surfaces can often be cleaned and disinfected when the product is compatible with the material. Wood may need repeated cleaning and drying if fluid reached its grain. Duct liner and insulation are more difficult because they're fibrous and can hold organic residue below the surface.
Enzyme digester products have a specific role. They can help break down residual fat and protein films in cracks and crevices after the carcass has been removed. They aren't a substitute for removing the body, and they shouldn't be used as permission to leave visibly saturated insulation or liner in place.
Ventilation must be controlled. Open the cavity or duct path only when you can prevent contaminated air from entering occupied rooms, and keep HVAC equipment off until the source area is clean and dry. Afterward, test the area through several normal HVAC cycles and different temperature conditions. A clean smell while the system is off doesn't prove the job is finished.
For broader concerns about particles, ventilation, filtration, and indoor conditions, this overview of home air quality provides useful context beyond the carcass itself.
Where ozone fits, and where it doesn't
Ozone can reduce microbial load under controlled conditions. One poultry-processing source reports greater than 99% microbial kill on carcass wash water, while another meat-carcass study found ozone reduced surface bacterial growth but didn't reliably improve odor shelf-life on retail steaks. Those findings show why ozone performance depends on the application and shouldn't be treated as a universal odor solution. The ozone treatment discussion from Biozone illustrates the difference between controlled microbial reduction and dependable odor removal.
Ozone may help in an empty, enclosed space after source removal, but it can underperform when the carcass remains inaccessible or odor is embedded in porous materials. It also requires strict safety controls because occupants and pets must not be exposed during treatment or until the space is safe to reenter.
A practical decision table looks like this:
| Condition | More suitable response |
|---|---|
| Source removed and hard surface affected | Clean, disinfect, dry, and ventilate |
| Enzyme-compatible residue in crevices | Apply an enzyme digester after removal |
| Saturated insulation or duct liner | Physically remove and replace affected material |
| Odor in an empty enclosed area | Consider controlled ozone treatment after cleanup |
| Odor returns after HVAC operation | Reinspect the duct path and porous materials |
A 2026 case study on a concrete floor found that decomposition VOC markers can remain detectable after decomposition. That supports what technicians see in houses: the body can be gone while the building still holds the odor. If repeated cleaning doesn't change the pattern, look for absorbed contamination rather than adding stronger fragrance.
When to Call a Professional in Magnolia and North Houston
DIY removal makes sense only when the source is accessible, the affected area is limited, and you can keep the work contained. Call for an inspection when the carcass is inside a wall, ceiling, duct, air handler, or heavily insulated attic area. Recurring odor after removal, insect activity, evidence of rodent entry, or the need for exclusion and sanitation also points toward professional help.
A proper inspection should identify the strongest odor zone, compare conditions with the HVAC system on and off, inspect accessible duct and attic areas, and look for entry points. The remediation plan may include targeted access, carcass removal, contaminated-material handling, surface disinfection, ventilation, exclusion work, and a follow-up check. The aim is to solve both the immediate odor and the route that allowed the animal inside.
Magnolia is in Montgomery County and uses ZIP codes 77353, 77354, and 77355, according to the Texas city directory listing for Magnolia. That detail matters when you're checking whether a local technician's route includes your property. Magnolia's city limits cover approximately 5 square miles, with an ETJ extending a half-mile beyond those limits, so nearby properties may fall into fringe coverage rather than the city core. See the Magnolia city packet for service-area context.
FullScope Pest Control has service locations in Cleveland, Kingwood, Conroe, and Porter, with coverage across north Houston communities including Magnolia, Montgomery, New Caney, Splendora, Spring, and Willis. Its rodent service work includes inspection, removal, exclusion, and sanitation guidance, which fits a dead-animal odor when the source may be connected to an active entry problem. For post-removal contamination that extends into furnishings or other specialty materials, specialty cleaning services may be a useful separate resource.
Don't wait for fragrance to mask a smell that returns every afternoon. If you're in Magnolia, Kingwood, Conroe, Porter, or a nearby Southeast Texas community, schedule a targeted inspection, identify the cavity or duct path, and address the carcass, contaminated material, and entry point as one job.
Contact a qualified local pest professional today if the odor is inside a wall, attic, crawlspace, or HVAC pathway, or if it returns after cleanup. Ask for source localization, safe removal, sanitation, and exclusion planning rather than deodorizing alone.