 1500+ reviews


Preventive Maintenance Plan for Magnolia, Texas Properties

A preventive maintenance plan for pest control is recurring inspection, monitoring, targeted treatment, exclusion, and documentation designed to stop infestations before they take hold. In Magnolia, that discipline matters more as the city reports 147.4% population growth from 2020 to 2024, adding homes, yards, and commercial buildings where Gulf Coast heat, humidity, and rainfall can turn a small gap or standing-water spot into an active problem. You're probably reading this after a familiar moment. Ants return to the kitchen a few weeks after a spray. You hear scratching in the attic at night. A tenant sends a photo of a roach and asks what you're going to do differently this time. A plan answers that question before the next sighting, not after it. What a Preventive Maintenance Plan Actually Means for Pest Control Preventive maintenance didn't start with pest control. It became a formal reliability discipline in the mid-20th century as organizations moved away from waiting for failure and toward scheduled inspection, servicing, and replacement, a shift traced in the reliability history covering the 1950 Department of Defense committee and its 1952 successor, AGREE. That same account notes the first national reliability symposium in 1954 and MIL-R-25717 in 1957, described as the first military specification for a reliability-assurance program. The language sounds industrial, but the logic transfers directly to a house or small business. You identify where deterioration starts, you inspect on a set interval, and you intervene before a small defect becomes a costly failure. What That Looks Like on a Magnolia Property For pest work, deterioration isn't a worn bearing. It's a door sweep that no longer seals, mulch holding moisture against a slab, a torn vent screen, or irrigation overspray keeping a foundation damp. A preventive plan schedules people to look for those conditions, refresh barriers where needed, and record what changed. Inspection comes first: A technician maps entry points, harborage, food and water sources, and prior activity. Monitoring continues between treatments: Traps, termite stations, and visual checks show whether pressure is rising or falling. Intervention stays targeted: Treatment, exclusion, or sanitation work follows what the inspection found. A subscription that only puts a truck in your driveway isn't prevention. Prevention is the documented loop that catches a conducive condition before pests use it. Magnolia's growth makes that loop practical, not theoretical. New subdivisions add shared fence lines, fresh landscaping, construction debris, and builder-grade gaps around utility penetrations. Established properties add mature trees, stored items, and aging seals. Both create routes for termites, rodents, mosquitoes, and seasonal invaders, and both benefit from scheduled attention instead of waiting for visible damage. Why Scheduled Service Beats Reactive Callouts The clearest way to understand scheduled service is to compare the timing of the work. A reactive callout starts after you've seen the pest, the droppings, or the damage. A preventive visit starts earlier, while the problem is still a condition you can correct. The stress of that late call is familiar to many homeowners, as shown below. A 2022 peer-reviewed reliability study gives this idea a measurable example. Reliability at six time units rose from R(6) = 0.45963 before preventive maintenance to R(6) = 0.55756 after it was introduced, an improvement of approximately 21%, according to the Alba 26 machine reliability study. That research studied machinery, not pests, so don't treat the number as a pest-control promise. Treat it as evidence for the operating principle. Repeated inspection and timely correction reduce the chance that a developing fault becomes a disruptive failure. Translating Reliability Into Pest Decisions In a Magnolia kitchen, early monitoring can reveal German roach activity in a hinge or appliance void before reproduction spreads through cabinets. Along a slab edge, termite monitoring can flag activity while treatment remains focused. In an attic, fresh rodent sign found during a scheduled check leads to exclusion before insulation and wiring face extended exposure. The short video below illustrates the broader scheduled-service mindset behind that timing advantage. Scheduled work also changes what you can prove. You'll have dates, findings, products, locations treated, and follow-up notes. That record helps a homeowner budget predictably, helps a property manager answer a tenant complaint, and gives buyers and sellers clearer evidence during a transaction. Reactive service may solve today's sighting, but it rarely shows whether the underlying route, moisture source, or harborage still remains. The IPM Foundation Behind Every Strong Plan A strong pest preventive maintenance plan is built as an Integrated Pest Management, or IPM, control loop. It's not a promise to avoid products, and it's not a fixed calendar of sprays. The EPA specifically identifies monitoring, accurate identification, action thresholds, lower-risk control selection, and plan updates as core principles in its IPM principles guidance. That sequence matters because the wrong identification leads to the wrong treatment. A few outdoor ants trailing to a tree don't carry the same meaning as German roaches breeding near a dishwasher. IPM forces the technician to name the pest, measure the pressure, and decide whether action is justified. How the Five Principles Show Up During a Visit Monitoring means checking traps, stations, droppings, mud tubes, webbing, standing water, and fresh damage. During a humid Magnolia summer, that includes shaded mosquito harborage and moisture-prone foundation areas. In cooler months, attention shifts more toward attic entry, stored-food pests, and rodents seeking shelter. Accurate identification narrows the response. Roof rats use raised routes, while Norway rats more often pressure grade-level openings. Fire ants in turf need a different response from pharaoh ants indoors. You can see how those principles fit together in a practical overview of integrated pest management practices. Action thresholds define when risk becomes unacceptable. A warehouse may tolerate a single outdoor sighting while staff correct a door gap. A daycare kitchen shouldn't apply the same tolerance to roach activity near food preparation. The threshold should reflect health risk, nuisance, damage potential, and the setting. Lower-risk control selection: Start with exclusion, sanitation, habitat change, traps, or targeted placement when they'll solve the pressure. Plan updates: Change frequency, treatment zones,
How Long Does It Take to Get Rid of Roaches
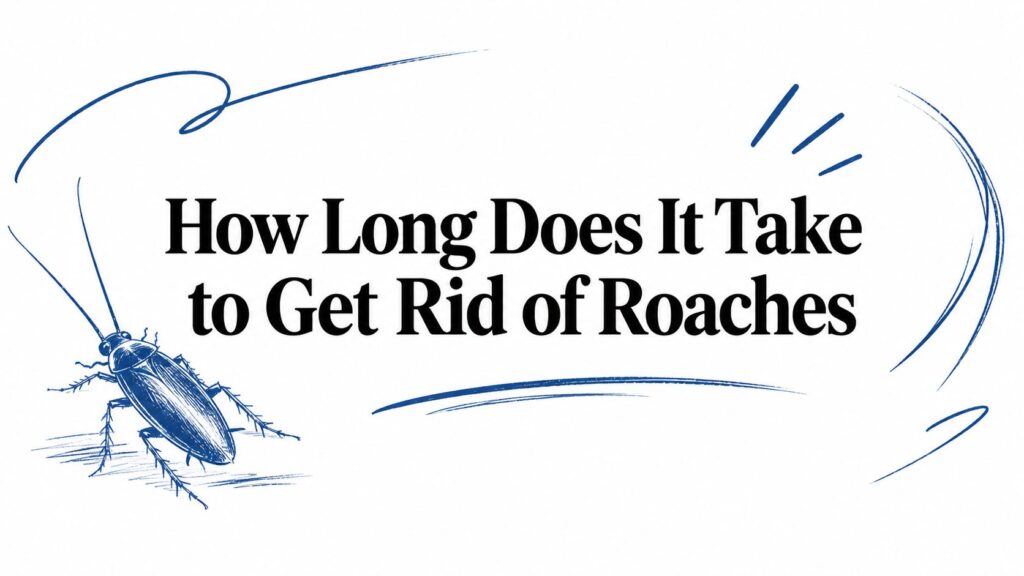
Most visible roach activity drops within 1–2 weeks, but complete elimination typically takes 4–8 weeks for light to moderate infestations and up to 12 weeks for severe or hidden infestations. If a product kills roaches quickly, why can a Magnolia homeowner still find them after treatment? The gap is between killing exposed roaches and eliminating an established population. A treatment has to reach the right places, remain effective against the roaches present, and work alongside repairs and cleanup. In Magnolia, Texas, a useful estimate starts with an inspection, not a promise printed on a pesticide container. The Realistic Timeline for Roach Control A small, accessible infestation can show a major reduction within 1–2 weeks, while difficult infestations can take up to 12 weeks to eliminate. Many baits need at least 5 days to kill substantial numbers, and some kill approximately 70% to 90% in a week or longer, according to Utah State University Extension's cockroach management guidance. For a light or moderate German cockroach infestation, 4–8 weeks is a practical planning range for reliable control when treatment, sanitation, and monitoring work together, consistent with the integrated approach described in University of Maine Extension's cockroach guidance. These are conditional ranges, not deadlines that apply to every property. Separate relief from verified elimination Initial knockdown means fewer active roaches. Verified elimination means inspections and monitoring no longer indicate an active population, including immature stages. Those milestones aren't interchangeable. Seeing fewer adults is encouraging, but it doesn't establish that every occupied cabinet, appliance gap, or wall void has been addressed. A useful treatment plan sets expectations around observable changes: Early progress: Activity starts declining in the areas where the infestation was concentrated. Continued suppression: Monitoring shows fewer roaches without activity appearing elsewhere. Verification: Repeated checks stop finding evidence of an active population. Don't judge bait by the first sighting Bait-fed roaches may continue moving through walls, cabinets, and other hiding places before dying. Some applications also leave protected egg cases unaffected, which helps explain why early sightings don't automatically indicate failure. Practical rule: Judge a treatment by the direction of the evidence, not by whether you saw a roach after the technician left. That doesn't mean every continuing sighting is acceptable indefinitely. A technician should explain what improvement should look like, what would trigger reassessment, and which household conditions could delay progress. If someone answers “How long does it take to get rid of roaches?” with an unconditional guarantee, ask how they will verify the result. A credible answer distinguishes expected improvement from confirmed control and includes a plan for checking both. Why Roach Species Change the Timeline Species identification changes what a technician looks for and how follow-up is planned. Treating every cockroach sighting as the same problem can mean targeting the wrong locations or misreading the significance of later activity. The physical comparison below is a useful starting point for discussing identification with your technician. Development takes longer than visible knockdown The CDC describes the German cockroach life cycle from egg through nymph to adult as approximately 2–8 months, compared with about 10 months for the American cockroach, in its cockroach life-cycle description. These biological timelines aren't treatment deadlines. They explain why a population contains more than the adults a homeowner notices. An infestation can include adults, developing nymphs, and egg cases at the same time. Removing visible adults doesn't establish what remains in inaccessible spaces. Development also varies with conditions. That's why a technician shouldn't use a species' average life-cycle length as a rigid countdown or imply that every property must remain under active treatment for that entire period. Identification should guide the inspection Before cleaning up a specimen, take a clear photograph or retain it for identification if you can do so safely. A description such as “small brown bug” or “large water bug” isn't a dependable basis for selecting treatment. Use a guide to the difference between American and German roaches to support that conversation, rather than guessing from size alone. Ask for a species identification: The technician should connect that identification to the proposed inspection and treatment. Report immature roaches: Their presence helps the technician assess whether development is occurring near the monitored area. Keep location details: Finding roaches repeatedly around the same appliance provides different information from scattered sightings near entry points. The practical question isn't which species takes longer to kill. It's where that species is living, which life stages are present, and whether the treatment reaches them. A slower-developing species doesn't automatically mean a longer service program. Likewise, fast reproduction doesn't make control impossible. Identification gives the professional a better basis for deciding where to inspect and how to interpret subsequent findings. Key Factors That Speed Up or Slow Down Control A few roaches concentrated in an accessible cabinet present a different job from activity spread through appliances, wall voids, and connected units. The extent of the infestation and access to occupied spaces can matter as much as the product selected. An inspection should establish the distribution of activity before the technician gives a firm estimate. Otherwise, the estimate reflects an assumption about the infestation rather than evidence from your home. Conditions homeowners can change Sanitation isn't a judgment about housekeeping. It's a practical effort to reduce the resources that allow surviving roaches to remain active and reproduce. A clean countertop doesn't resolve grease beneath an appliance or persistent moisture inside a cabinet. Focus on the conditions closest to recorded activity. Food access: Remove crumbs, grease, open packages, and accessible food residue. Ask which areas need cleaning before treatment and which treated locations should remain undisturbed. Water access: Repair leaks and address recurring dampness. Tell the technician about condensation or plumbing problems even when no puddle is visible. Shelter and access: Reduce unnecessary stored material around affected areas so inspection and targeted placement are possible. Preparation: Follow the service instructions rather than emptying or washing every cabinet indiscriminately. These actions support treatment, but they don't replace it. Aggressive cleaning in the wrong place
How to Find Carpenter Ant Nest
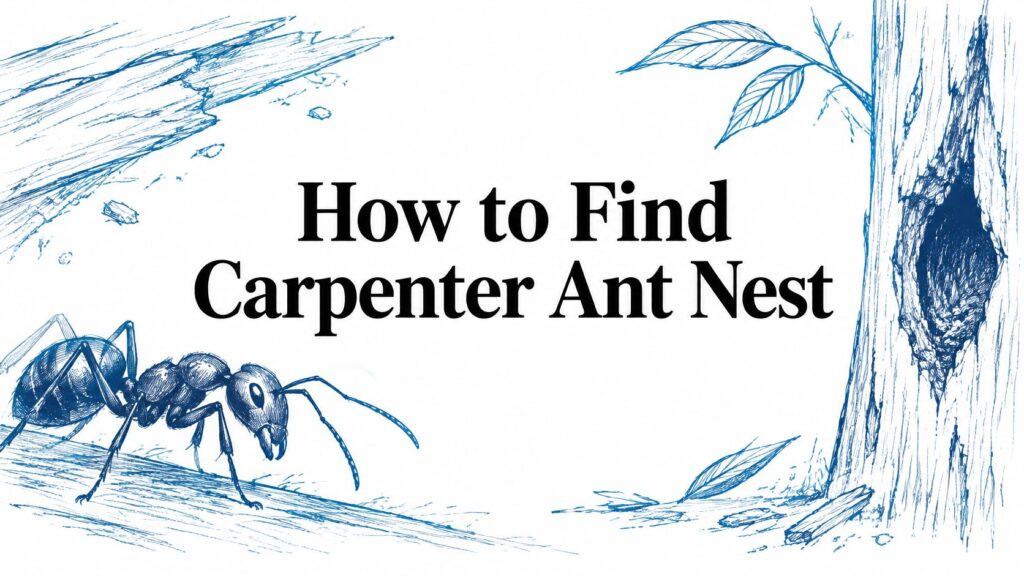
You've wiped down the kitchen, put away the food, and turned off most of the lights. Then another ant crosses the windowsill and disappears behind the trim. You check beneath the sink, see nothing obvious, and start wondering whether the nest is inside the wall or somewhere out in the yard. Finding a carpenter ant nest means connecting ant movement with the home's moisture history, not just searching the room where you see the most workers. In humid Southeast Texas, that means looking closely at old leaks, rain-exposed wood, and outdoor nesting sites before reaching for a spray can. Why Carpenter Ant Nests Are Hard to Find An evening trail across the kitchen counter tells you where ants are traveling. It doesn't necessarily tell you where they're nesting. Treat that distinction as the starting point of the inspection, especially when workers disappear into a clean-looking gap beside a window. This illustration shows why visible activity can be only part of the problem. Think Beyond the Room With Ants Carpenter ants commonly maintain a parent nest and satellite nests. Outdoor locations include tree holes, stumps, logs, and planter boxes; indoor locations include wall voids, attics, insulation, hollow doors, casings, cabinets, and beams. Wood moisture content of at least 15% is a useful inspection threshold, but satellite nests can occupy warmer, drier spaces, according to North Carolina State University's carpenter ant guidance. That changes how you interpret a recently repaired leak. A dry ceiling today doesn't erase the importance of the roof leak that previously soaked the framing. Likewise, checking the kitchen cabinets alone won't resolve whether workers are arriving from an outdoor nest. Practical rule: Use the busiest room to find a trail. Use the home's moisture history to decide where that trail deserves closer investigation. Build a Search Map Before Treating Start by recalling where water has entered the house. Think about the window that leaks during wind-driven rain, the porch corner that stays damp, or the cabinet floor damaged by a plumbing fault. Mark those locations separately from ant sightings. When the two overlap, you have a stronger inspection target than either observation provides alone. Random spraying works against this investigative approach because removing visible workers doesn't identify their destination. The useful question isn't whether you can kill the ants on the sill. It's whether you can establish where they travel, what wood is vulnerable, and whether the activity connects the house to the grounds. Start Your Inspection Where Moisture Collects Begin in daylight, when you can see staining, drainage problems, and damaged wood clearly. Carry a flashlight even outside so you can inspect shaded joints and the undersides of accessible trim. Use this moisture map as a guide rather than treating every location as equally suspicious. Work From Water Entry to Affected Wood Nebraska Extension's carpenter ant inspection guidance identifies dead limbs, logs, posts, landscaping timbers, and structural wood as nesting locations, including rain-exposed areas around windows, roof eaves, decks, and porches. The recurring conditions to investigate include clogged gutters, leaking frames, plumbing leaks, poor porch drainage, and soil-to-wood contact. Use a consistent route: Roof edges and gutters: From the ground, look for overflow staining and damp fascia or soffit areas. Mark anything that requires a roofer's closer inspection. Window and door frames: Examine lower corners, the trim beneath them, and adjacent wood. Check both sides of a suspect opening where accessible. Plumbing areas: Look beneath sinks and around accessible dishwasher, bathtub, and supply-line areas for dampness or previous repairs. Attics and crawl spaces: Inspect only where access and footing are safe. Record staining and condensation rather than assuming every moisture problem is an active roof leak. Ground-level wood: Check porch supports, deck connections, outdoor timbers, and wood touching soil. For a separate building-envelope review, the attic condensation advice from HIBCO ROOF, from HIBCO ROOF LLC, is a resource to discuss with your roofing contractor. Keep the moisture diagnosis and pest diagnosis connected without assuming they're interchangeable. Extend the Walkthrough Into the Yard At each suspect area, look beneath openings for sawdust-like material, then note any workers and their direction of travel. Continue into surrounding trees, stumps, logs, and firewood instead of stopping at the exterior wall. Keep the sequence simple: identify moisture, locate debris or openings, observe movement, and inspect connected outdoor wood. Don't start pulling apart trim just because a location looks damp. For a visual companion to the walkthrough, use the video below. Finish the daylight inspection with a short list of places to revisit after dark. A focused list is more useful than wandering around the entire property with a flashlight. Use Night Trailing to Follow Workers Home Return to the locations where you observed ants. Keep the inspection quiet and deliberate, and resist the urge to disturb every worker you find. A flashlight lets you track movement without opening the structure. Follow Returning Workers Plan the main trailing session for roughly 30 minutes after sunset. For nearby trees, University of Georgia recommends checking trunks more than 6 inches in diameter, 15 to 20 minutes after sundown; its carpenter ant field guidance also supports using diluted honey, 25% sugar water, or a small amount of crushed insect bait along an established trail and checking returning workers after 1–2 hours. Start where movement is easiest to see. Follow workers carrying food when possible, watching where they go rather than assuming every ant is heading home. At the house: Trace movement toward window and door frames, eaves, porch columns, and accessible openings near plumbing or flashing problems. At trees: Walk around the trunk while sweeping the flashlight upward and downward. Note cavities and sawdust-like shavings at the base. At interrupted trails: Pause and watch the last confirmed location. Don't immediately conclude that the nearest crack contains the nest. For a temporary food lure, use a small, controlled placement where children and pets can't reach it, and remove it afterward. Sugar water used for observation isn't a colony treatment, and it shouldn't be confused with a
How to Find Ant Nest Inside House
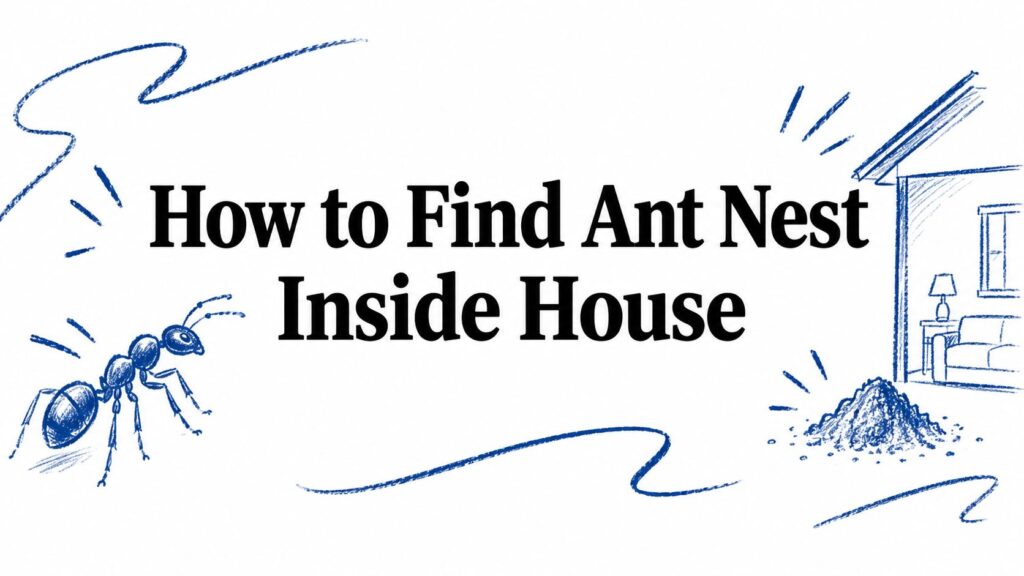
You're making coffee in your Magnolia kitchen, and there's the line again. Ants cross the counter, drop down the cabinet face, and vanish behind the dishwasher. You wiped them up yesterday afternoon, sprayed the baseboard, and woke up to a fresh trail. That pattern usually means you're killing foragers, not locating the colony. Learning how to find ant nest inside house problems starts with resisting the spray can long enough to watch where the workers go. Why the Trail You See May Not Lead to the Nest A homeowner in Magnolia can scrub the same counter for a week and still lose ground. The ants return each afternoon because the visible line is mostly a food route. Workers lay chemical pheromone trails and repeatedly follow established paths between food, water, and the colony, so the route tells you where they're feeding before it tells you where they live. University of Maryland Extension guidance on indoor ants recommends watching ants travel to and from food because direction and consistency can reveal whether the source is indoors or outside. That's the first decision you've got to make. If the nest is outside in soil by the foundation, mulch, a pavement crack, a flowerpot, or firewood, treating a kitchen wall won't solve it. If the nest is inside a damp wall void, treating only the patio won't either. Why Southeast Texas Makes the Call Harder Humidity, slab construction, and plumbing penetrations give ants hidden travel lanes. A trail can disappear under flooring, behind a cabinet, or around a pipe opening and reappear in another room. That disappearance point is a clue, not proof, because many species enter only for food or moisture. Species matters here too, and this comparison of fire ants, odorous house ants, carpenter ants, and pavement ants helps separate outdoor foragers from ants more likely to exploit damp indoor voids. Don't wipe the trail the moment you see it. You'd be erasing the only map the workers are giving you. Aggressive cleanup feels productive, but it can scatter workers and force a new route. You'll get a quieter counter for a few hours and less information than you had before. Watch first, document where the line starts and ends, then decide whether you're dealing with visitors or residents. Running a Trail-Following Inspection Start by removing competing food and water. Wipe crumbs, rinse the sink, empty the pet bowl area, and dry standing moisture. Then place a small dab of honey on an index card near the sighting. The card gives ants one clear destination and gives you one route to follow instead of scattered workers across the counter. Set the Route and Follow It Away From Food Oregon State University Extension reporting summarized in Illinois Department of Public Health ant guidance notes ants often establish a route to and from an attractant within about one hour. Once traffic forms, don't disturb it. Follow workers away from the food along baseboards, carpet edges, cabinet joints, pipe penetrations, window frames, and appliance gaps. Note exactly where they disappear. Repeat the observation after sunset, when carpenter ants and several other species are more active. A trail that looks thin at noon can be obvious at night. If workers vanish into a wall, go outside and inspect the opposite wall, foundation joint, sill, and nearby plumbing penetration. The colony may be outdoors, inside the void, or traveling through it. This short walkthrough shows the observation habit in practice before you record your own findings. Record What a Technician Would Ask Entry and disappearance points: Mark them with painter's tape so you don't rely on memory. Time and direction: Note when traffic peaks and whether loaded workers move toward or away from the wall. Moisture nearby: Write down leaks, condensation, damp cabinets, or wet flooring along the route. Food being carried: Workers carrying food usually point back toward the colony. The common failures are mopping or spraying before tracing the route, following only ants nearest the food, and assuming every indoor trail means an indoor colony. If you're thinking beyond today's inspection toward longer term prevention, this permanent ant removal guide is useful background, but it won't replace the trail record you build in your own house. Mapping the High-Probability Nest Sites Room by Room Once a trail disappears, search by pattern, not by panic. Indoor colonies cluster where moisture, warmth, and concealed voids overlap. Utah State University Extension information on pavement ants and indoor nesting sites identifies bathrooms, sink and drain areas, wall voids with warm pipes, and spaces beneath baseboards or carpet edges as recurring locations. Start Where Water Meets a Hidden Space Bathrooms: Check beneath toilets and showers, around tub access panels, under vanities, and where supply lines enter the wall. Kitchens: Inspect sink cabinets, dishwasher sides, refrigerator water lines, and cabinet joints that stay damp or warm. Laundry and utility areas: Look beneath washing machines, behind water heaters, and around drain penetrations. Floors and trim: Follow baseboards, carpet edges, cracked slabs, and gaps where flooring meets exterior walls. Attic and roof edges: Examine insulation, fascia, window and door sills, and wood touched by roof leaks or condensation. Add the Carpenter Ant Layer Carpenter ants point you toward damp or decayed wood caused by plumbing leaks, roof leaks, condensation, poor drainage, or inadequate ventilation. Probe suspicious sills and trim gently, and look for staining, soft spots, or bubbled paint. The strongest clue is frass, coarse material that looks like pencil shavings and gets pushed from galleries. Frass below a sill or baseboard means the nest is likely close to that deposit, not across the house. Practical rule: A trail tells you the road. Moisture, frass, and soft wood tell you the neighborhood. Large numbers of winged ants indoors are another strong warning that a colony may be established inside. One or a few winged ants don't prove indoor nesting, so don't overread a single swarmer near a window. Also accept a limit early. Colonies between floors, inside walls, or in decaying