1500+ reviews


The house is quiet, you're trying to sleep, and a faint scratching starts behind the bedroom wall. You switch on a light, listen again, and hear nothing. By morning, there's no mouse in sight and nothing obvious on the kitchen floor. Should you investigate, or was it just a house noise?
Knowing how to tell if mice are in your walls means separating a suspicious sound from evidence of current activity. For homeowners in Magnolia, Texas, the useful approach is to inspect accessible routes, document what changes, and leave concealed cavities alone until there's a reason to investigate them professionally.
Why Wall Activity Is Harder to Read Than Activity in the Open
A noise behind drywall creates an awkward problem: you can hear something, but you can't inspect the place it seems to be coming from. In a pantry, damaged packaging gives you something tangible to examine. Behind a bedroom wall, you're left deciding whether a faint scrape deserves attention.
Consider a typical situation. Scratching seems to come from behind a dresser, but moving the dresser reveals a clean baseboard. The adjoining closet looks clean too. That inspection tells you those accessible surfaces have no obvious evidence; it doesn't tell you what's inside the wall.
Accessible Evidence Is Only Part of the Picture
Keep accessible evidence separate from concealed activity. Accessible evidence includes material you can photograph without dismantling the house, such as damaged food packaging or debris beside a pipe opening. Concealed activity is what you suspect beyond those surfaces.
This distinction prevents two common mistakes. One is declaring an infestation from a single unexplained sound. The other is dismissing the possibility because the room looks tidy.
A clean floor is an observation about the floor, not a complete inspection of the wall behind it.
A useful inspection question is whether the clues fit together. Does the sound occur near a cabinet with suspicious damage? Is there an opening nearby that deserves closer inspection? Can you identify another accessible area on the opposite side of the same wall?
Build a Pattern Before Choosing a Treatment
Treat the first noise as a reason to observe, not a reason to cut drywall or buy bait. Record the room, the approximate location, and what was happening in the house when you heard it. If the sound returns, you'll have something more useful than a memory of scratching somewhere upstairs.
Your working conclusions should remain modest:
- An isolated noise warrants observation, especially when nothing else supports a rodent explanation.
- A recurring sound in a consistent area warrants a focused inspection of nearby accessible spaces.
- Several independent clues justify a stronger suspicion and a clearer plan for confirmation.
This approach isn't about waiting until damage becomes obvious. It's about choosing an inspection that can answer the question without creating unnecessary openings or placing treatments where you can't monitor them. A technician needs a defensible route to confirmation, not just a homeowner's best guess about which wall contains a mouse.
Sounds and Timing That Signal Mice in the Walls
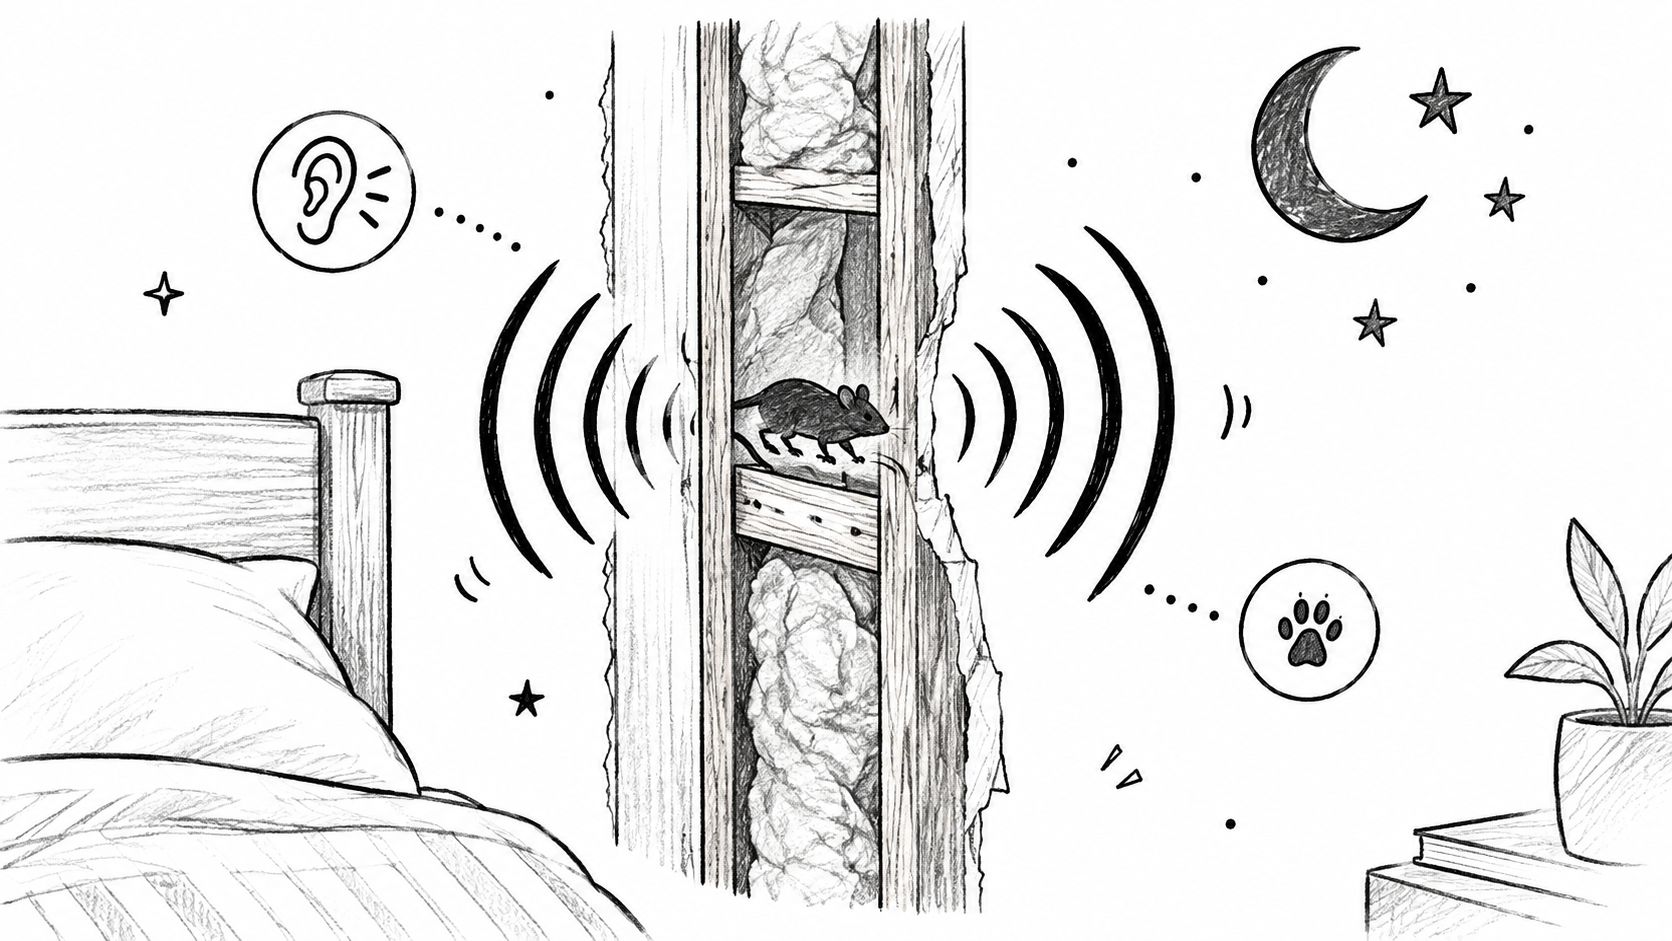
Timing strengthens a sound clue, but it doesn't identify the animal by itself. The supplied rodent guidance describes house mice as primarily nocturnal, with principal feeding periods around dusk and just before dawn; their tendency to travel beside walls and objects also helps explain why suspicious activity may concentrate near cabinets, baseboards, and utility openings (rodent behavior and recognized infestation signs).
The illustration shows the concealed route you're trying to assess from the room side.
Match the Sound to Its Setting
Rather than trying to identify mice from an audio description alone, pair each sound with its location and circumstances.
- Light scratching or scurrying deserves closer attention when it returns around the same wall edge during quiet evening or early-morning periods. Note whether it stays in one spot or seems to move.
- Squeaking can support suspicion, but don't treat it as a species identification. Look for a matching physical clue before deciding what's responsible.
- A scraping sound described as gnawing needs visual confirmation wherever inspection is accessible. Your description of the noise isn't proof that something is chewing.
- Clicks or knocks associated with household equipment should be logged with that equipment's operation. A sound that coincides with plumbing or HVAC use deserves a building-related explanation to be considered.
Don't tap the wall repeatedly and interpret the resulting silence as confirmation. Instead, listen from the room where the noise is clearest, then check an adjoining room if you can do so safely. Mark the apparent location on a room sketch rather than assuming you've pinpointed a nest.
Keep Daytime Observations in Perspective
A daylight mouse sighting deserves attention because it can suggest more established infestation pressure. A daytime wall noise is not equivalent to seeing a mouse, however, and shouldn't be used to estimate how many animals are present.
Use this video alongside your own observations, not as a substitute for inspecting the property.
Keep a simple log with the room, time, sound description, and whether appliances or household systems were operating. Add photographs of any corresponding evidence rather than trying to record louder audio at the expense of a safe inspection.
The practical goal is a repeatable observation. “Scratching behind the sink cabinet before daylight” gives an inspector a useful starting point. “Something somewhere in the walls” leaves much more work to do.
Droppings, Gnaw Marks, and Other Physical Evidence
Physical evidence is most useful when you can establish that it's current. A pellet beneath an appliance may be relevant, but its presence alone doesn't show whether a mouse is still using that area. Fresh damage or evidence that appears after safe cleanup gives you a firmer basis for action.
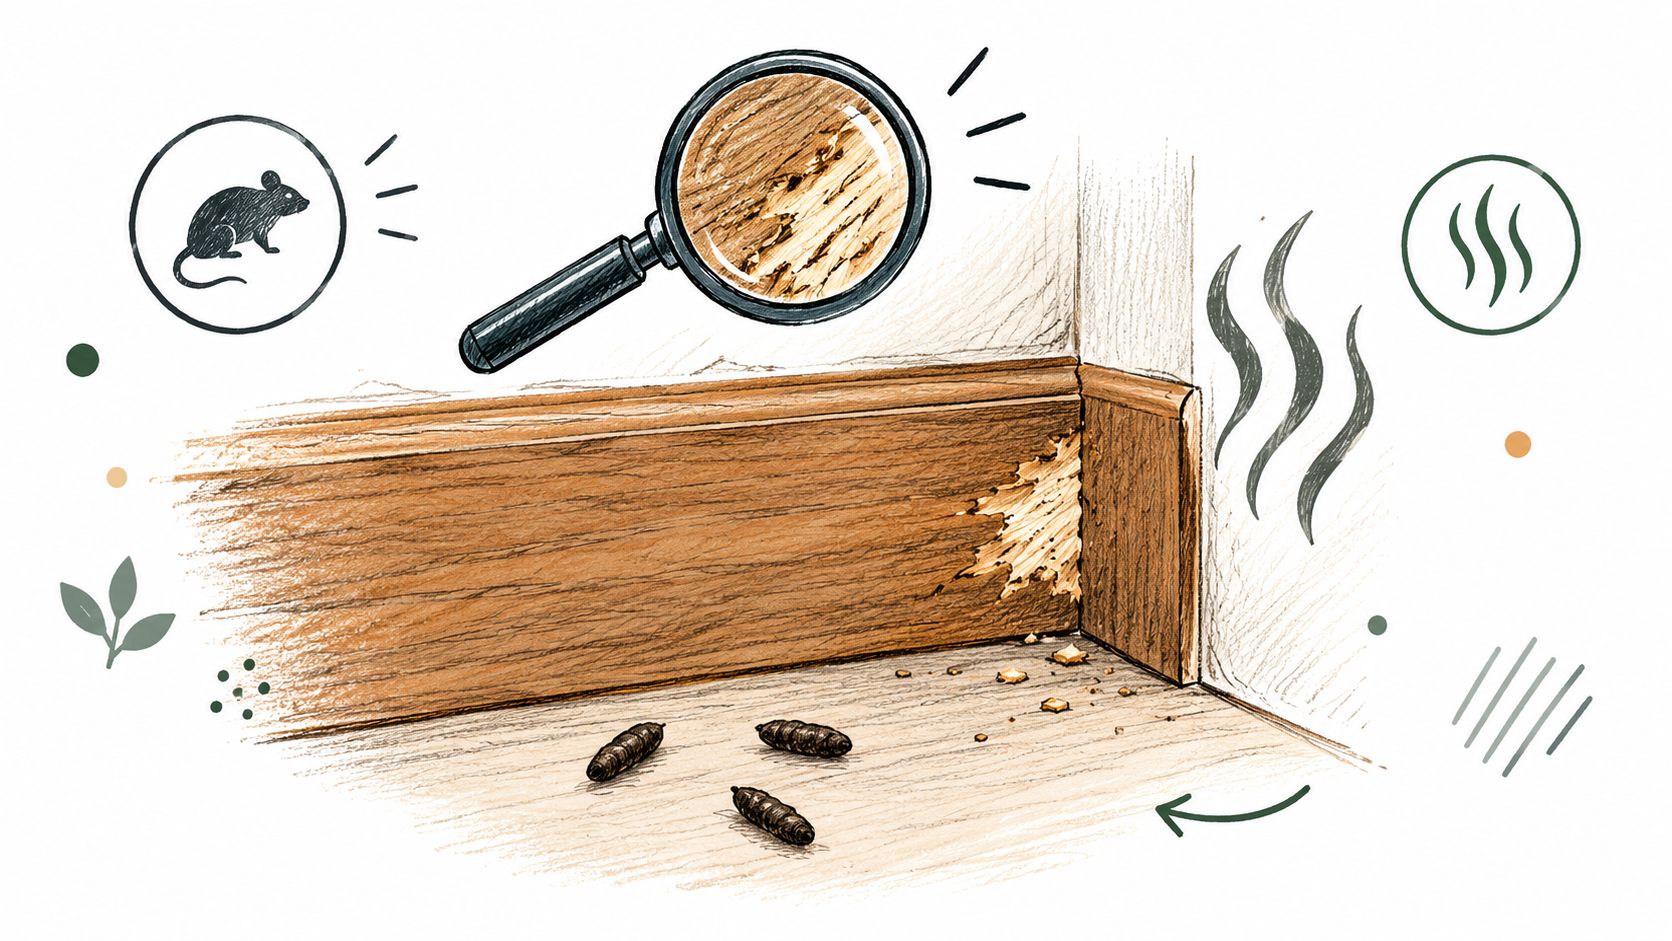
Nebraska Extension describes house mice as producing approximately 50–75 droppings per day, with typical pellets measuring 1/8–1/4 inch (3–6 mm), generally dark and tapered at one or both ends; its gnawing guidance describes tooth marks roughly 1/32 inch wide and clean-cut holes about 1 1/2 inches across in cardboard or similar material, while CDC guidance identifies returning droppings after careful cleanup as evidence of active rodents (rodent identification and safe cleanup guidance).
Read Droppings Without Handling Them
Those measurements help you assess suspected mouse evidence, but they aren't a reason to touch pellets or break them apart. Nor should you expect every dropping to appear in an occupied room. The amount produced and the amount you can see are different questions.
Look inside lower cabinets and drawers, beneath sinks, beside food storage, and around accessible wall penetrations. Use a flashlight held at a shallow angle so small objects stand out against the surface. Photograph what you find before arranging safe cleanup.
For a closer visual comparison, consult this guide to identifying rodent droppings and common signs.
The illustration highlights several clues that should be considered together rather than separately.
Compare Damage and Travel Signs
Rank the remaining evidence by how clearly it connects to a location you can revisit:
| Observation | Practical Interpretation |
|---|---|
| Newly damaged packaging | Document the item and inspect the adjoining cabinet or storage area |
| Suspected gnaw marks | Photograph the edges and compare them later without disturbing the material |
| Dark rub marks | Check whether other evidence occurs along the same route |
| Footprints in existing dust | Photograph them without stirring up the dust |
| Shredded paper or fabric | Leave suspected nesting material undisturbed pending assessment |
A musty odor belongs in your notes, but it shouldn't carry the diagnosis alone. Describe where it's strongest and whether you can inspect that location safely. Don't press your face against an opening to investigate.
Practical rule: Reappearing evidence is more useful for judging current activity than trying to estimate the age of a dropping by appearance alone.
A flashlight-and-tape check is best used for documentation, not capture. Place removable painter's tape on a clean adjacent surface to mark the photographed location, without touching suspected contamination. Don't stretch exposed adhesive across a runway as an improvised glue trap; your objective is to compare observations, not create an uncontrolled trapping setup.
A Practical Wall-to-Interior Inspection Walkthrough
Work from the building's accessible exterior toward the room where you've noticed activity. Bring a flashlight, a phone camera, a notepad, and a ruler for recording openings. Keep the inspection limited to places you can reach without removing electrical covers, climbing onto the roof, or disturbing insulation.
The aim is to map possible entry, travel, and shelter locations. A gap is worth documenting, but it isn't automatically an active mouse entrance.
Start With Accessible Exterior Openings
Walk the perimeter and inspect visible transitions between materials. Pay attention to garage door edges, foundation vents, and places where utilities enter the building. Examine the roofline from the ground; anything that requires climbing should go on the professional inspection list.
Common Entry Points and What to Look For
| Location | What to Check | Evidence to Look For |
|---|---|---|
| Garage door edges | Weather stripping and corner contact | Visible gaps, chewing, nearby debris |
| Utility penetrations | Open space around pipes and cables | Rub marks, damaged surrounding material |
| Foundation vents | Screens and frame condition | Openings or disturbance near the frame |
| Roofline | Visible joints and penetrations | Gaps requiring closer professional assessment |
| Sink cabinets | Pipe openings and cabinet backs | Pellets, shredded material, chewing |
| Attic or crawlspace access | Accessible edges and thresholds | Disturbed material or suspicious debris |
Take an overview photograph showing where an opening sits, then a close-up. Measure accessible gaps with the ruler beside the opening, not by pushing an object into it. Record the width and shape without assuming that a particular dimension proves mice used it.
Follow the Route Indoors
Use the suspected sound location to prioritize the interior inspection. Check the adjoining cabinet, closet, or utility area before moving to unrelated rooms.
- Inspect room edges. Follow accessible baseboards and cabinet sides with the flashlight. Avoid shifting heavy furniture just to extend the search.
- Check food-storage areas. Examine packaging and the surrounding shelves without scattering suspected debris.
- Look around appliances safely. Inspect beneath or beside them where visibility allows; don't disconnect utilities or move equipment you can't handle safely.
- Review cavity connections. Note openings between cabinets, wall edges, and accessible attic or crawlspace entrances.
Visible daylight at an edge that should be closed is worth recording. Don't enlarge the opening or remove surrounding material to see more.
Use this guide to identifying and sealing rodent entry points when organizing the repair list. Separate confirmed evidence, suspected access, and areas not inspected in your notes. That distinction keeps a possible opening from becoming an unsupported diagnosis and gives a technician a clear starting point.
When There Are No Droppings But You Still Suspect Mice
No visible droppings doesn't mean no mice. North Carolina State Extension describes nests concealed in wall voids and identifies scratching, clawing, and a musty urine smell as possible accompanying signs (surveillance and management of structure-invading mice). This is why an inspection of a clean bedroom can leave the central question unresolved.
The opposite conclusion matters too: hidden space doesn't make every unexplained noise a mouse. Without accessible evidence, the appropriate result may be “suspected concealed activity,” not “confirmed infestation.”
What a Negative Inspection Actually Tells You
Suppose you've checked the cabinet beside the noisy wall and found nothing. That narrows the accessible evidence available to you. It doesn't justify either opening the wall immediately or ignoring a persistent pattern.
Compare what you can observe with what remains inaccessible:
- Recurring sound with a consistent location gives an inspector an area to investigate.
- An odor strongest near a particular opening is worth documenting, without treating smell as proof.
- A clean accessible edge should be recorded as a negative finding, not generalized to the entire cavity.
- An area you couldn't reach safely belongs on the inspection list rather than being treated as cleared.
Ask for a non-invasive assessment first. A professional should explain what can be evaluated from existing access points, what remains uncertain, and what finding would justify a more intrusive inspection.
Don't Turn Suspicion Into Uncontrolled Disturbance
Cutting a hole in drywall may feel decisive, but it can leave you with an opening and no usable answer. Don't puncture a suspected cavity casually or pull out material that could be nesting debris. Likewise, don't apply poison or other treatments into an inaccessible space because that's where you heard scratching.
The safer next step is to improve the evidence, not to make the wall easier to enter.
Health precautions remain relevant even before you've confirmed the species. Follow the CDC cleanup precautions referenced earlier rather than dry-sweeping or vacuuming suspected droppings. Keep children and pets away from material awaiting assessment or cleanup.
Technology also needs a clear purpose. Don't treat a consumer thermal-camera image as a mouse diagnosis. Ask an inspector how any proposed tool will distinguish suspected activity from other explanations and what physical confirmation they expect to obtain. A method is useful only if it helps answer a defined question.
Short-Term Mitigation and When Professional Help Is the Smart Move
Match the response to what you've documented. Removing accessible food sources and organizing stored food are reasonable early steps. Trapping, exclusion, and cavity work need a clearer plan, especially when you haven't established where animals are traveling.
Safe Immediate Actions
- Protect food. Move accessible food into closed containers and address spills without disturbing suspected contamination.
- Plan trapping deliberately. If you use snap traps, follow their directions and place them along documented accessible routes, protected from children and pets.
- Choose repairs carefully. Steel wool and caulk may suit some small, accessible exterior gaps; don't assume they're appropriate for every opening or seal an active route without coordinating control.
- Use safe cleanup. Apply the wet-cleanup precautions already cited, rather than handling suspected waste as ordinary dust.
Seek professional help for persistent sounds, evidence that returns after cleanup, suspected wiring damage, or activity extending into inaccessible insulation and voids. Review these criteria for calling wildlife and rodent-control professionals before attempting intrusive work.
Rodent Inspection in Magnolia, Texas
Magnolia sits within the Houston metropolitan area at FM 1774 and FM 1488, approximately 45 miles northwest of Houston (City of Magnolia location information). Its municipal listing identifies Montgomery County and the address 18111 Buddy Riley Boulevard, Magnolia, Texas 77354 (Texas Municipal League Magnolia profile).
FullScope Pest Control is one option for rodent inspection and exclusion for homeowners in Magnolia and nearby communities. It's a QualityPro-certified provider using licensed technicians and integrated pest management; ask for an inspection that addresses confirmation, entry points, trapping, sanitation, and follow-up.
For property managers coordinating access, Recepta.ai's pest control appointment scheduling AI is a scheduling resource to consider, separate from the technician's diagnosis.
If you're hearing activity in a Magnolia home, photograph accessible evidence and prepare your sound log. Schedule a rodent inspection and ask the technician to explain what confirms current activity, which openings need exclusion, and how the results will be checked after treatment.